Beauty trends come and go but one that is certainly here to stay is eyebrow lamination, which helps to recreate the look of thick, bushy brows.
Over time, our brows can look thinner as we get older, and one of the most popular make up products for older women is eyebrow products, and it's no surprise why. Your brows really can change the whole structure of your face and similar to a mascara for older women, can make your eyes appear bigger.
It takes around 30-40 minutes and is a painless experience that can be done professionally in a salon or in some cases, at home with DIY kits.
Below, Sarah Amelia Fogg, celebrity brow artist and founder of Brows by Sarah, explains more.
What is eyebrow lamination?
Brow lamination is the process of straightening your brow hairs to sit in the desired direction. It involves softening the brows with a chemical solution and then brushing them into your perfect brow shape to set. Unlike eyebrow microblading, brow lamination is pain-free, relaxing and results in thicker, bushy-looking brows. It is basically an easy, natural way to achieve fluffier brows.
What is the difference between eyebrow lamination and microblading?
Where brow lamination is simply a case of changing the direction of your brows, sometimes with an added tint, microblading is a form of semi-permanent makeup where a brow artist will use a microblade tool to slice the skin and push pigment into incisions which creates a hair stroke pattern. Microblading is a more permanent brow treatment - it lasts anywhere from 12 to 18 months whereas brow lamination lasts for about 5 to 8 weeks depending on the thickness and consistency of your brow hairs.
What are the benefits of eyebrow lamination?
There are many benefits of brow lamination, the first being that it is pain-free and noninvasive - it doesn’t include the use of needles or semi-permanent makeup.
If you’re looking to switch up your brows but are unsure what to go for, eyebrow lamination is definitely recommended as not only is it easy and pain-free, it doesn’t last as long as other procedures (5-8 weeks) and therefore you can easily get your brows back to normal.
Another benefit to remember about brow lamination is that your brows still have the ability to move. After the process, your brows are still flexible and you can still decide to brush them in a different direction if you fancy a change for the day.
Lamination will also save you time during your everyday morning routine, especially if you're doing an eye make-up look for older ladies, as the treatment results in fuller, fluffier brows meaning minimal daily drawing and shaping.
How do I prepare for brow lamination?
Firstly, if you are a regular user of brow serums, stay away from these for 48 hours before your appointment as this may affect the durability and longevity of your lamination. It is also best to avoid using anything that may irritate your skin for the 48 hours before your lamination treatment. In particular, stay away from harsh skincare products like retinol products and acne treatments as these can make your skin more sensitive and irritable to the lamination solution. You should still be okay to use most anti-ageing eye creams, but it's worth taking any products with you to your appointment so your therapist can check the ingredients.
Most brow artists would also recommend having a patch test before your lamination to avoid any sensitivity and inflammation after your treatment. This should definitely apply to you if you have very sensitive skin.
Lastly, when you show up to your appointment, it is best to arrive makeup-free as not only does this save time during your appointment but also avoids any leftover oils affecting the quality of the brow lamination.
What is the brow lamination process?
While the brow lamination process may differ depending on your brows and the desired look that you want, the common procedure is as follows:
-
Firstly, you should be given a patch test to check for any allergies or sensitivity to the products. This may be completed 24/48 hours before your appointment to be sure of no reactions.
-
Once there has been no sensitivity shown, the brow artist will begin by cleaning your brows and deciding on the shape that works best for you. They may also remove a few stray hairs if needed.
-
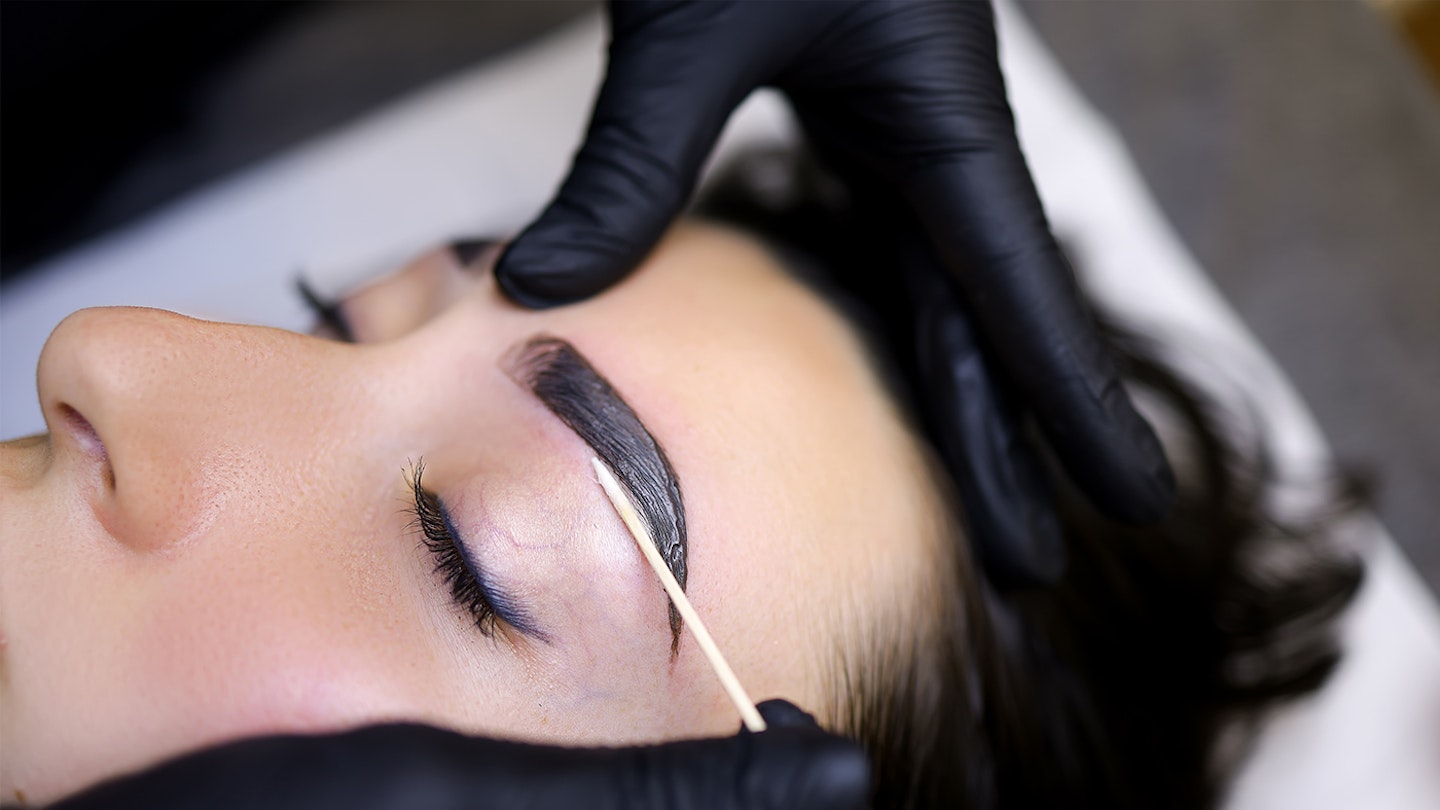
At this point, a tint or dye may be applied if you have asked for darker brows / a new colour.
-
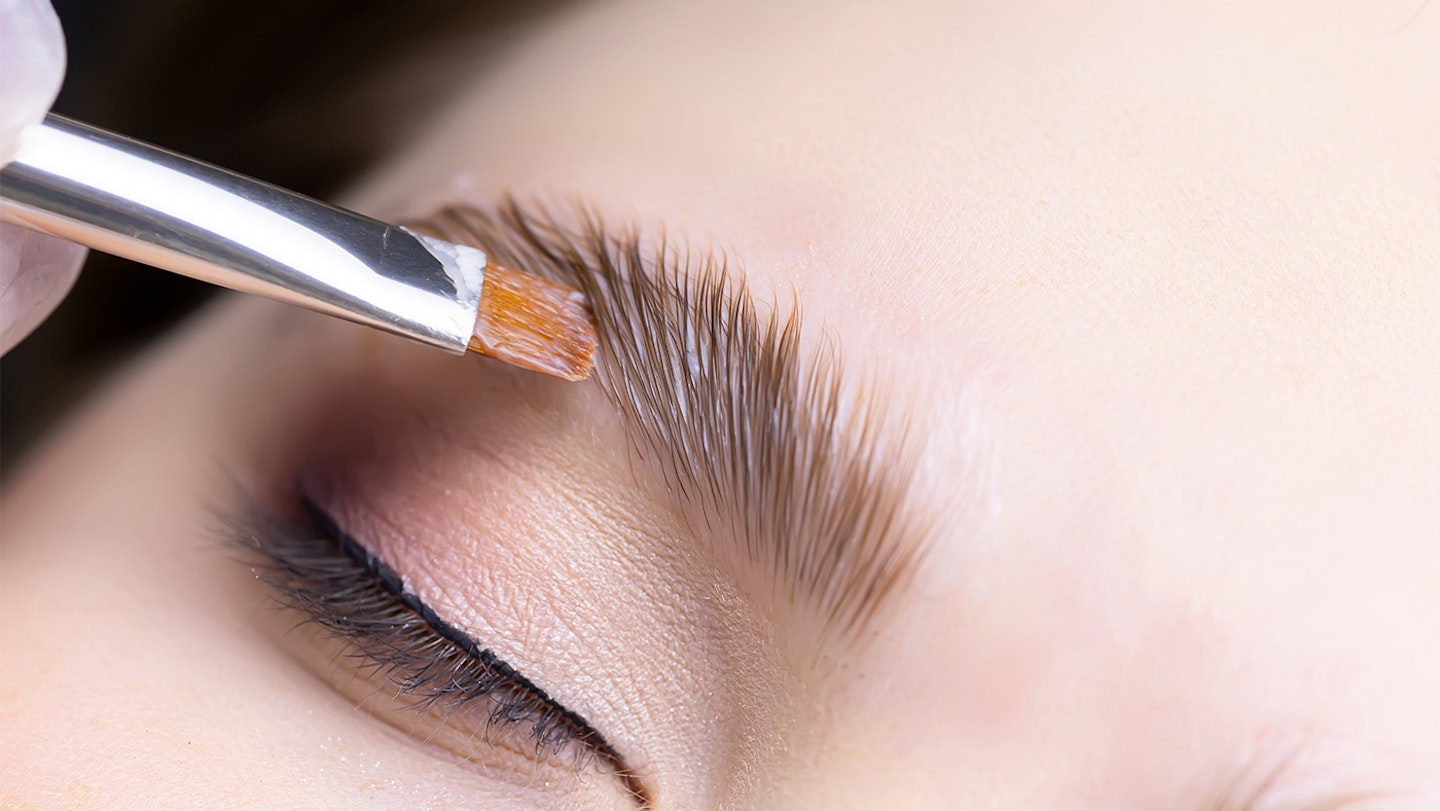
After the shape choice has been confirmed, the lifting cream will then be applied to soften the brows. This cream breaks the hair bond and relaxes the cuticles which will therefore make the brows easier to brush and shape.
-
Once all of the hairs have been exposed to the cream, the brow artist will then brush all of the hairs in your desired direction. Afterwards, a plastic, cellophane-like wrap will be used to cover the brows to help them set. The time it takes will differ depending on your brow type.
-
Once set, the lotion is removed and the brow artist will apply a second solution to set the hairs in this place.The brows are then covered again with the same plastic wrap and left on until the brows are completely uniform.
-
When complete, the solution will be removed and a nourishing serum will be applied to ensure your brow hairs are still healthy and fresh.
Compared to other brow procedures, lamination is relatively straightforward and quick to complete depending on the setting time.
Are there any risks?
If you complete proper research into the place/person doing your treatment, you shouldn’t face any risks. It's about the professional understanding how long they should keep the solution on for. If the chemical is left on for too long, it will affect the overall outcome; it would mess up the shape of your brows and could also damage your brow health. The other factor is having a patch test, especially if you have over-sensitive skin. However, apart from that, there are no risks involved.

Brow lamination aftercare
The aftercare for brow lamination is surprisingly easy. Firstly, make sure that you keep your brows dry for at least 24 hours after. Any moisture may affect the solution used to keep your brow hairs in place. Once this time has passed, the only thing you need to do is give your brows a quick brush through each morning.
As the lamination process sometimes involves a dye if desired, you might not even need to fill in your brows for some time (unless you want to of course). At most, you could invest in a brow gel to keep them in shape. As mentioned above, laminated brows usually last for 5-8 weeks. Near the end of this time, you could use a pigmented brow product to keep your brows looking fresh for as long as possible.
How much does brow lamination cost?
Like any other beauty treatment, lamination depends on the person, place, product and any additional add-on prices. Typically, it costs anywhere between £50 and £100 depending on the exact procedure - compared to other brow treatments such as microblading, it is considered to be affordable.
Features & Reviews Editor Emily Gilbert has been a journalist since 2016 and has worked across a variety of specialist and lifestyle brands both in print and online. Specialising in travel content and product reviews, Emily is the first to know about all the exciting new releases, her favourite being gadgets for the home.
To enjoy more regular stories just like this, become a Yours subscriber and become part of our fun and friendly community of like-minded readers.
