Whether you're looking to update your home interiors or challenge yourself to a new craft project ideas, it's surprisingly easy to learn how to make a cushion cover for your home or as a gift for a loved one.
Cushions can add a real cosy feel to a room, and they're a must-have on any sofa or bed that's looking a little bare. Cushions also give you an opportunity to really brighten the place up, especially if you have gone for a more minimal feel in your home.
Not only is it much cheaper to make your own DIY cushion covers than buy ones from the shop, but it's also an easier and cheaper way of updating your interiors without splashing the cash on new furniture. Not to mention it's a fun craft idea for adults you might enjoy.
There are a number of different ways a cushion cover can be made. The most popular method is probably an envelope-style cushion cover which doesn't have a zip. The other method is making a cushion cover with a zip.
We've included some step-by-step instructions on how to make both styles of cushion, including what you'll need to photos taking you through each stage plus a video to help guide you too.
How to make a cushion cover without a zip
These are often called envelope cushions and they're great if you aren't confident putting a zip in or don't want to be scratched by a zip.
We've followed Alanda Craft's tutorial on Youtube and broken down each stage. You should find everything you need in a handy sewing kit, but you might find you need some other supplies too.
What you'll need
One piece of fabric of your choice measuring 14½” x 36″ - note that this works for cushions sized 14″, 16″ and 26″
Erasable pen or pencil
Iron
Scissors
Matching thread
Square cushion
Step one
Lay the fabric down and draw a line ¼ of an inch from the edge of the short edges. Do this with a pencil or erasable pen that will rub off. Press that into place with the iron then add another line 1 inch away from the first line. Make sure you've pressed all these folded lines in place with either a press or iron. Secure these folds down by sewing about 1/8th inch along the first fold along the top edge and repeat this on the other side.
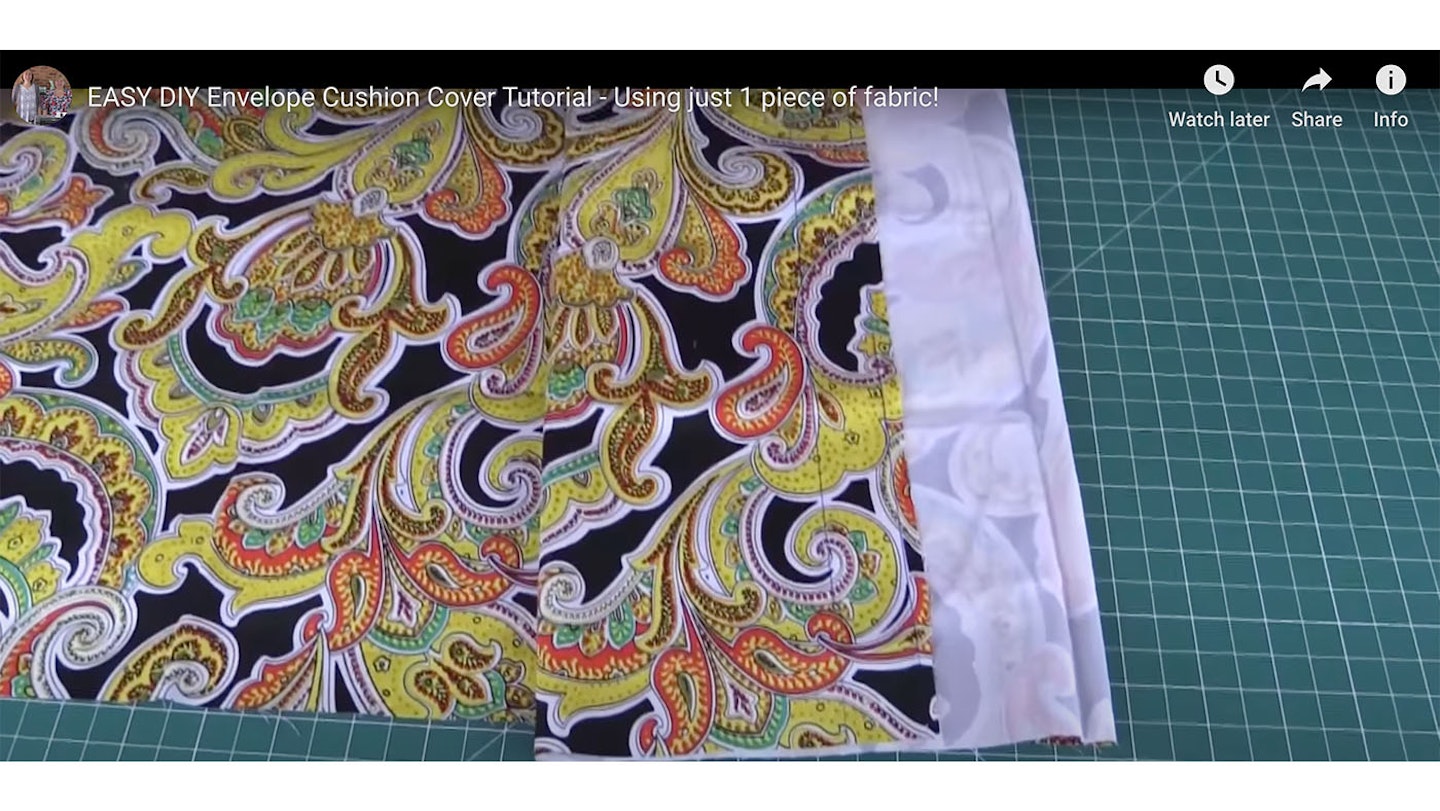
Step two
Now fold the material in half and give it a press with the iron to secure the centre line crease. Fold one half into the centre going four inches past the centre and repeat with the other side.
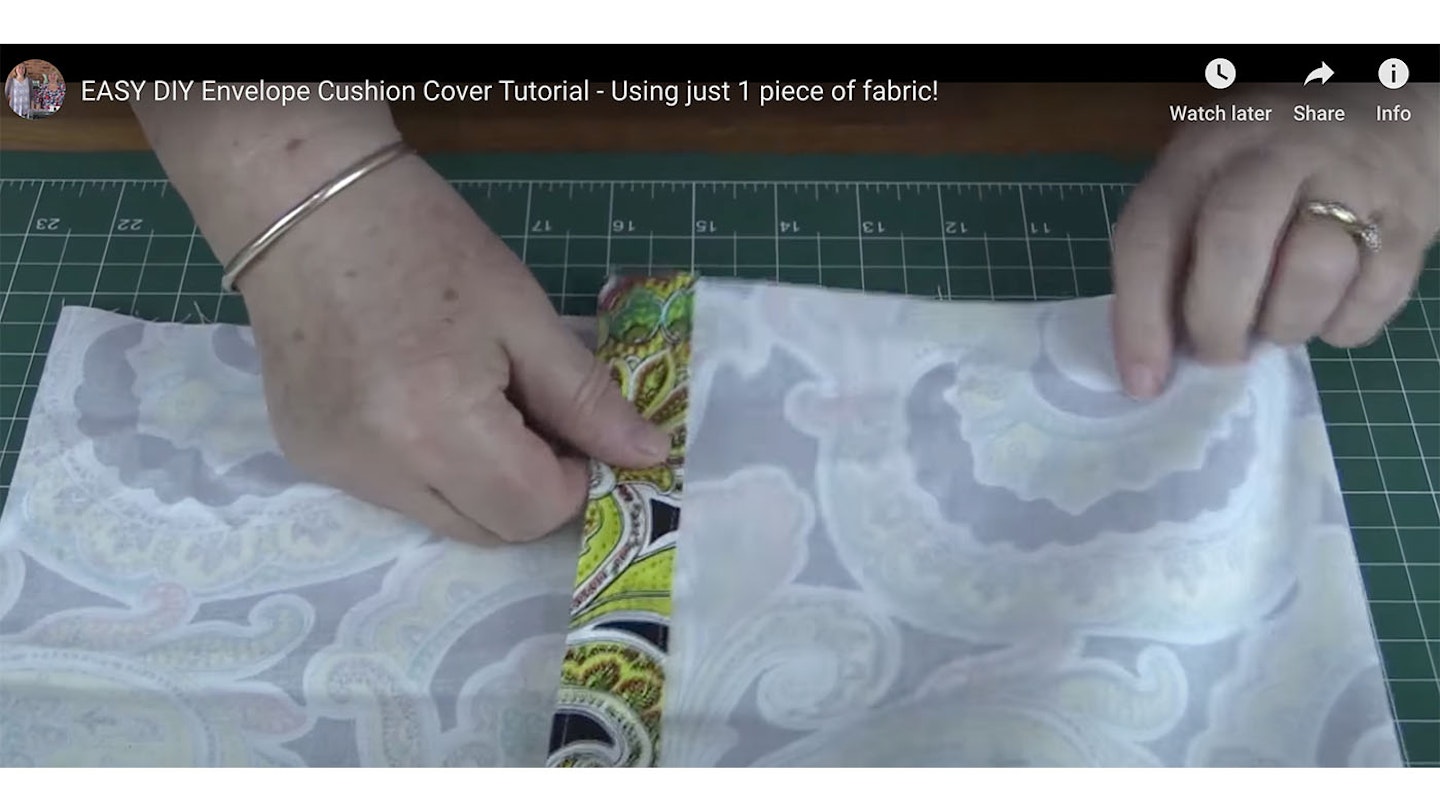
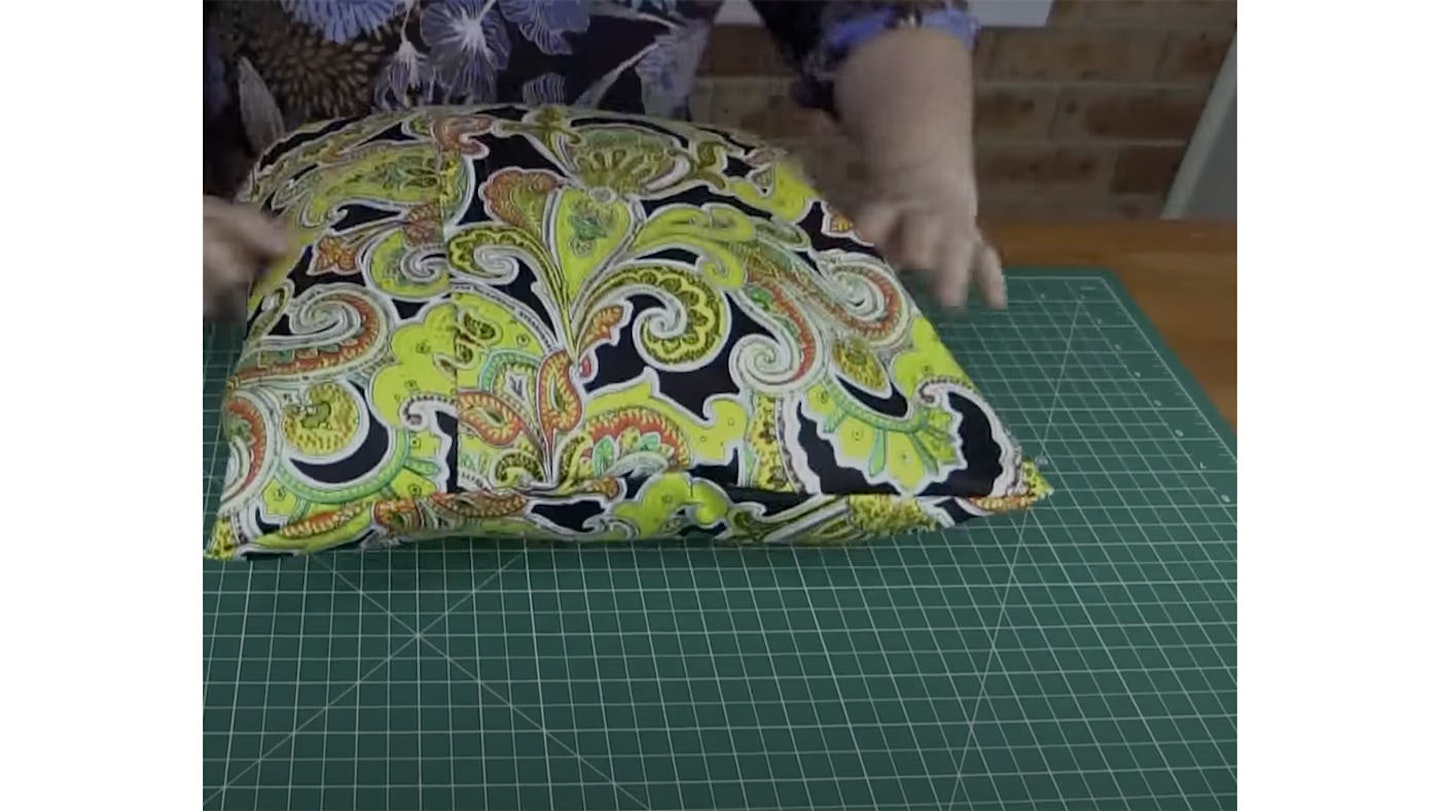
Step three
Sew both sides together with a ¼” seam. Backstitch at the beginning and the end of each row to secure. Finally, turn the cushion the right way around and insert your cushion.
How to make a cushion cover with a zip
Making a zip cushion cover can be a little trickier, but these simple instructions and video guide from Treasurie should help guide you through the process of how to make a cushion cover with a zip.
What you'll need
Fabric for your cover measuring the same as your cushion (If you want a looser cover you could always add an extra ½ inch / 12mm)
Scissors
Square cushion
Zipper
Regular and a zipper sewing machine foot
Sewing machine
Matching thread
Iron
Step one
Start by measuring your pillow and cutting your fabric. If you want a nice and snug fit around your pillow, leave half an inch for seams. One edge of the fabric serger or overlock one edge to stop fraying. Take your two pieces with the right sides together.
Step two
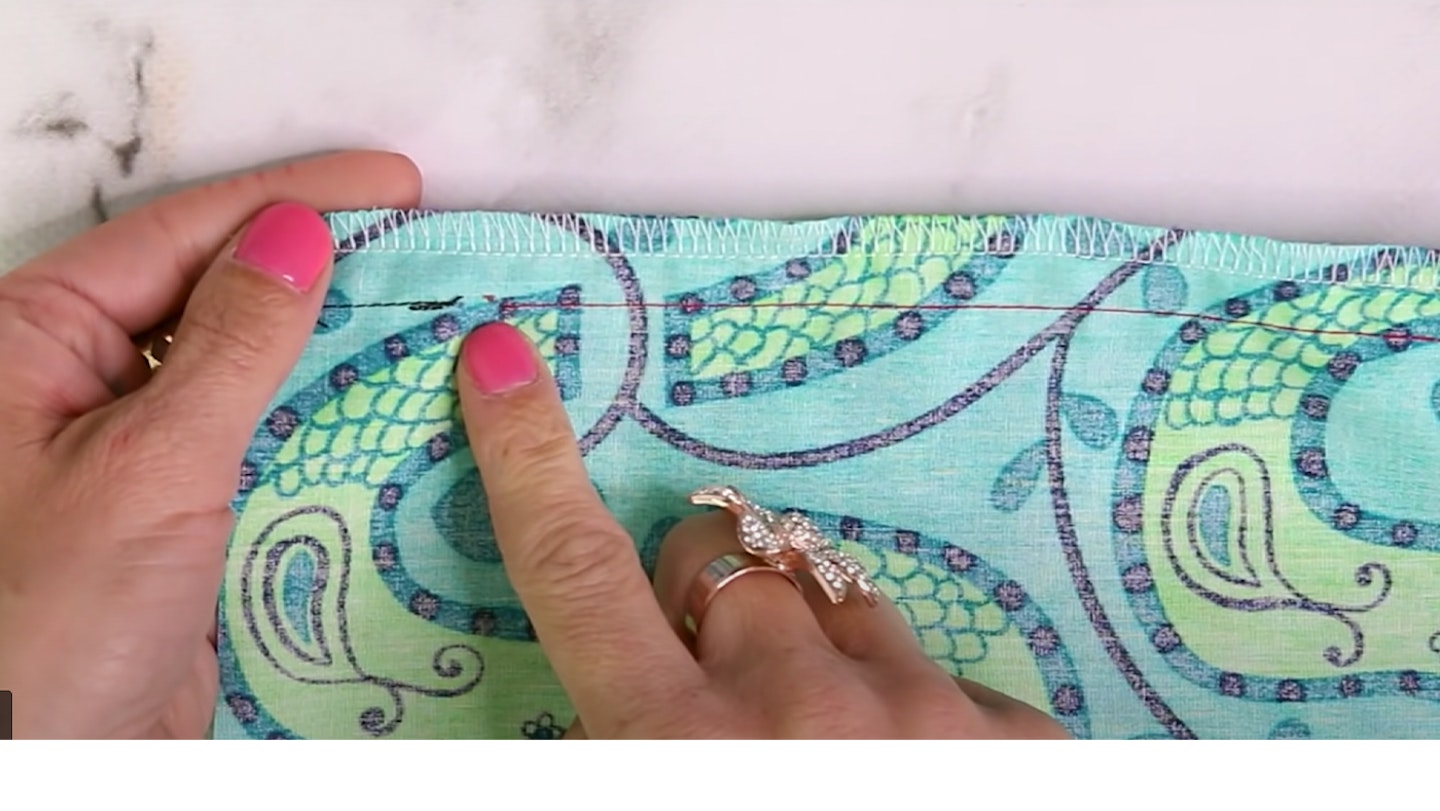
On one side pop a mark two inches from either end of your square. You'll be sewing your zip between these two marks. On this same side, sew along up to the marks leaving a half an inch seam allowance. Be sure to backstitch at the ends to secure. Now set your sewing machine to its longest basting stitch length and stitch between these two marks. Once stitched, press open this seam with the iron.
Step three
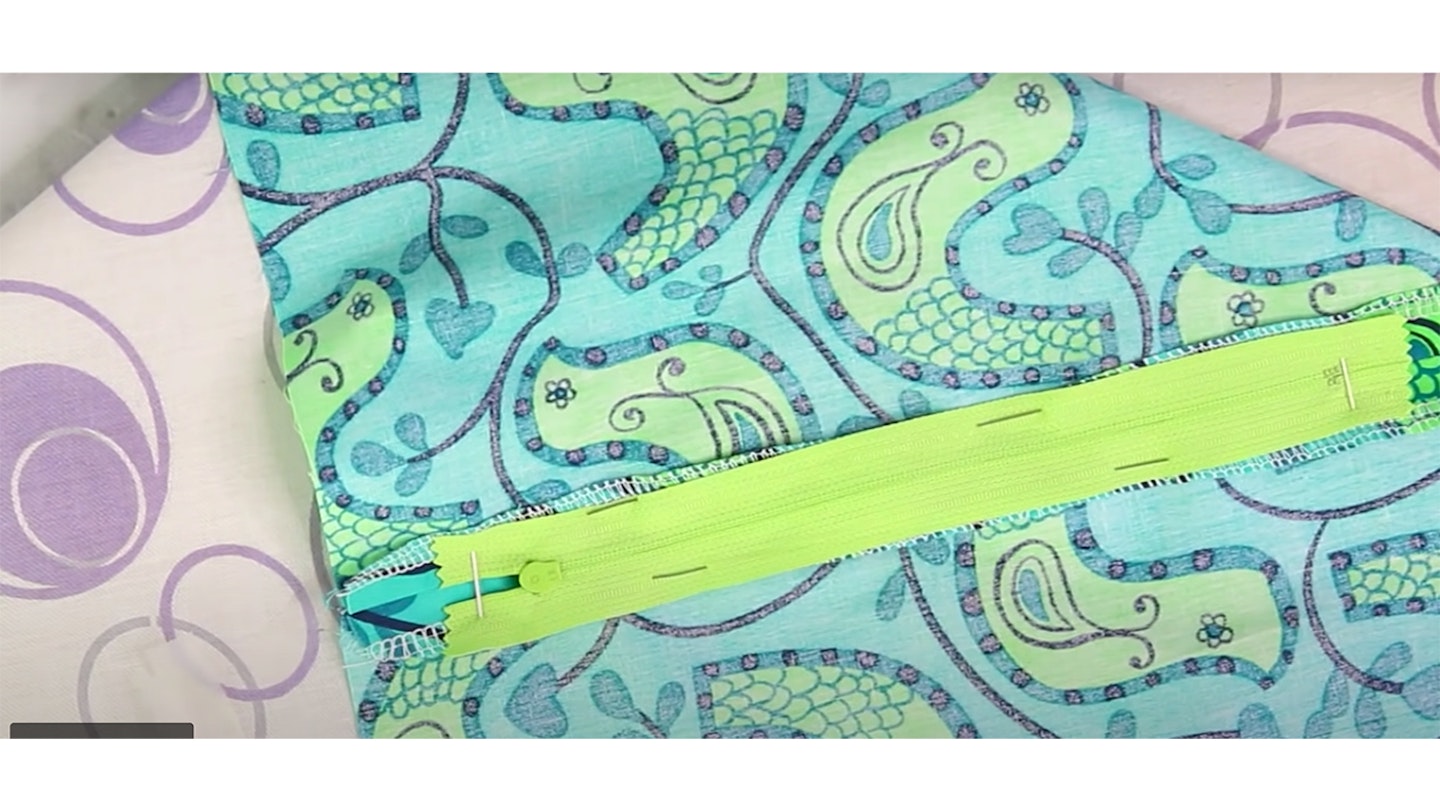
With your fabric facing the wrong way up, take your zip and place it the wrong way up (face down) over the basted stitch section. Pin it in place. Using the zipper foot on the sewing machine, stitch along the edges of the zipper. Once secure, remove the basting stitches with pair of scissors or stitch rippers. Unzip the zipper around halfway and stitch across the ends of the zip next to where the teeth finish.
Step four
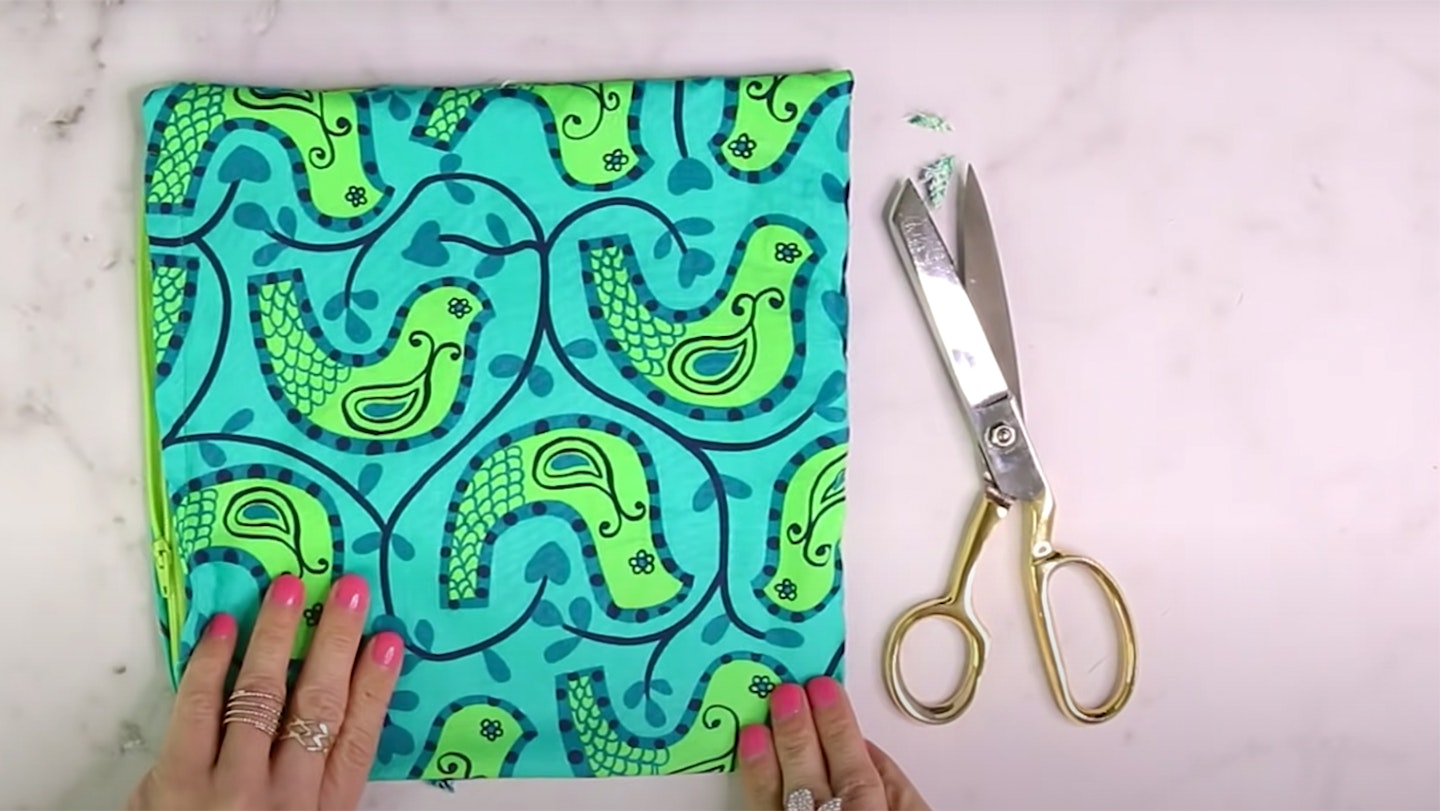
Fold the fabric in half with the right sides facing one another. Stitch around the sides and bottom of the cover with the regular foot on the sewing machine. Turn your cover inside out so it's facing the correct way and give it a good press.