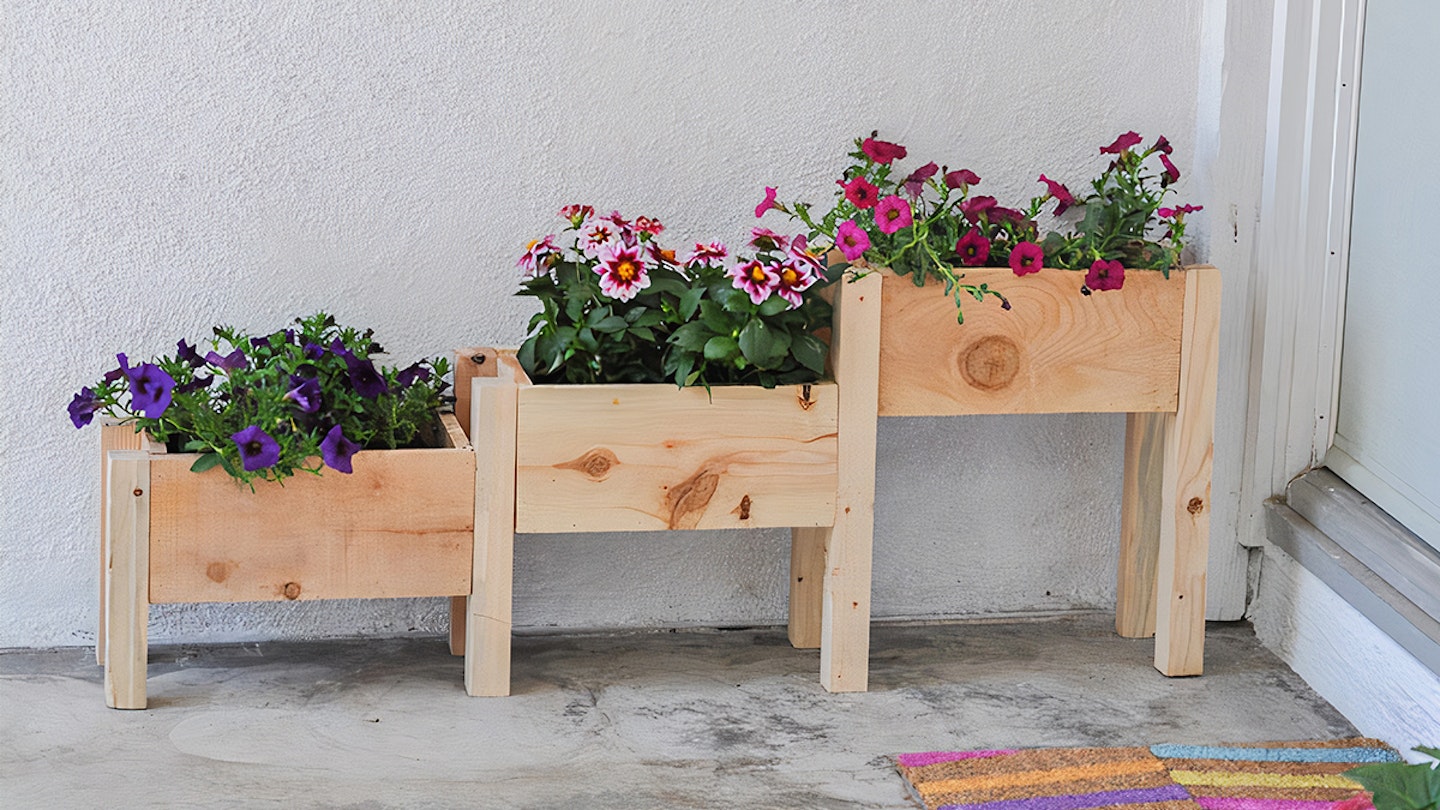
Using a planter in your garden is a quick way to spruce up your outdoor space and you can use them to plant flowers, trees, veggies, herbs and more.
While you can of course buy a planter online, it's easier than you think to make your own.
This simple tutorial from online specialists in DIY, Home and Gardening ManoMano and DIY blogger Anika costs just £10 to make and can be done in an afternoon.
You will need:
Materials
24 x 1¼” Screws
1¼” Finish Nails
Two pieces of 5/8 ” x 5-1⁄2″ x 6′ Cedar Fence Picket
One length of 2″ x 2″ Furring strip
Tools
Wood Glue
Mitre Saw
Nail Gun
Drill
Cut list
Cedar fence @ 12″ – total 9 – base and sides of boxes
Cedar fence @ 5″ – total 6 – ends of the boxes
2″ x 2″ @9½” – total 2
2″ x 2″ @12½” – total 2
2″ x 2″ @16″ – total 4
Method
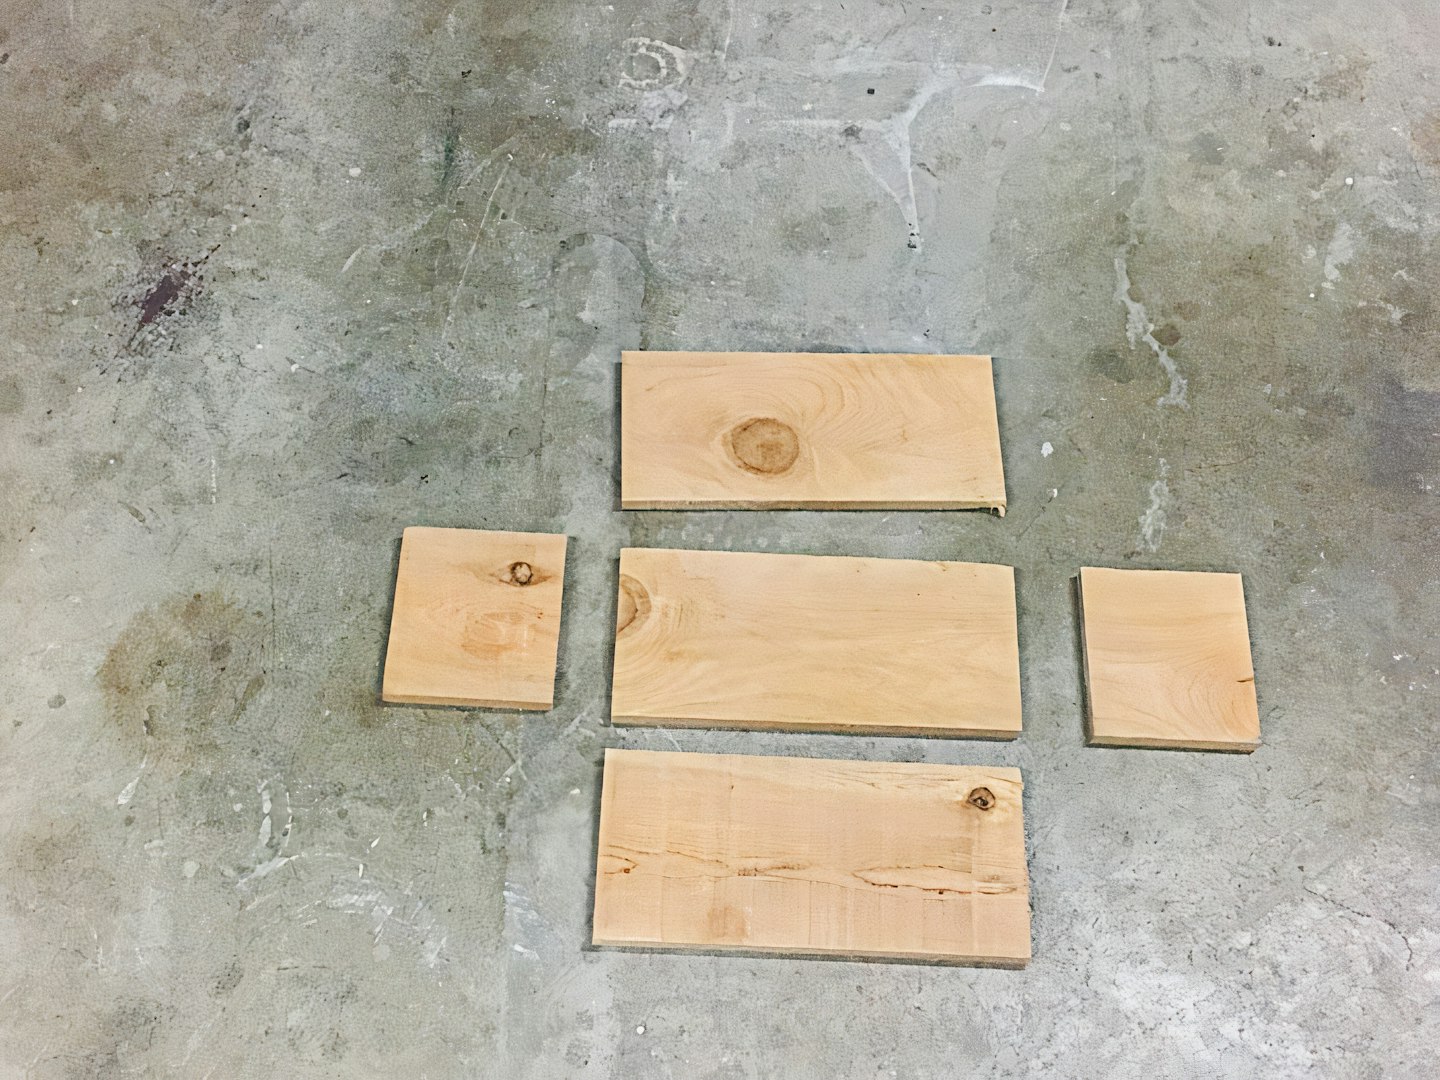
- The first stage of creating a tiered wooden planter is to cut out the pieces for each planter box. Each box will need three identical pieces for the sides and bottom as well as two smaller pieces for each end. See the cut list above for the dimensions for each piece.
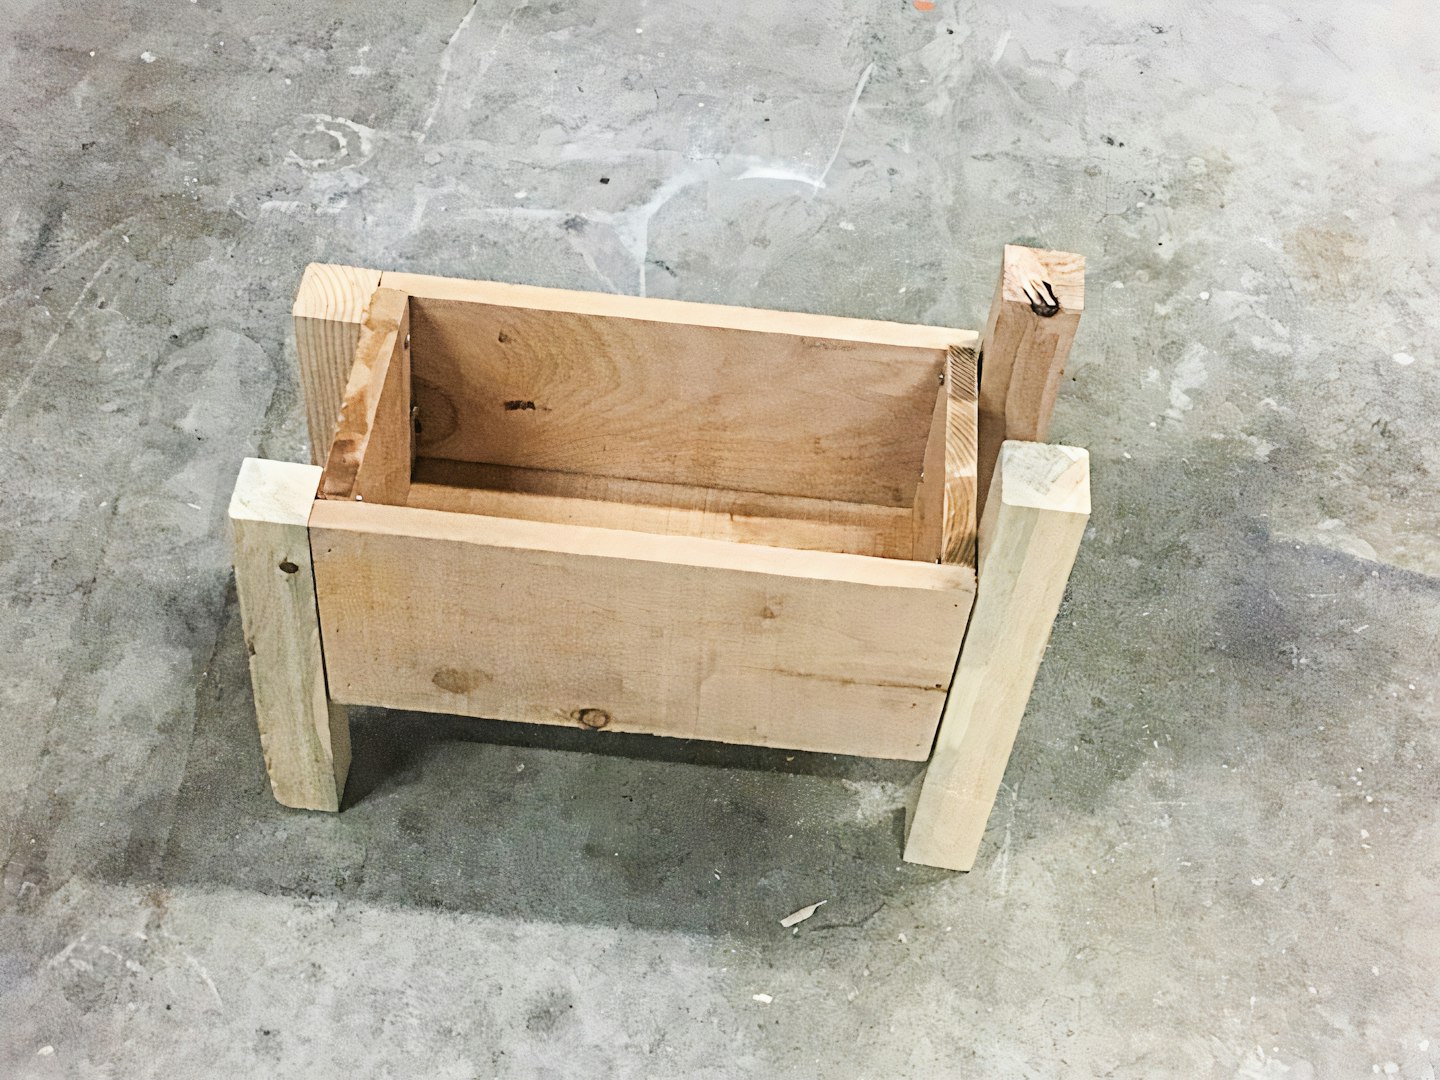
- To construct each wooden planter box, stick your pieces together using wood glue and then secure them with finish nails. Although nailing the boxes can be done by hand, using a nail gun will save you both time and energy.
.jpg?auto=format&w=1440&q=80)
- Once your planter boxes are cut and drying the next step is to cut the lengths needed for the legs. You will need to cut your 2″ x 2″ furring strip into a total of eight pieces. For the lowest tier of your wooden planter you need two 9½” long legs, then 12½” long legs for the middle tier, and finally four 16″ long legs for the top tier.
- To attach the legs, start with one end of the lowest box and use the drill to screw the legs on from the inside of the box. The next set of legs should be offset from the top of the box by 3″.
- Next attach the second box onto the offset legs, keeping the lip of the planter box in line with the top of the legs. Add the next set of legs, which should be offset by 3½”. Finally attach your last box and the final set of legs.
.jpg?auto=format&w=1440&q=80)
- Your wooden planter is now completed, all you need to do is fill it with flowers. Add a compost and flowers of your choice, place your planter, and enjoy! Now that you’ve built one, you can easily add more DIY wooden planters wherever you think your garden needs a spot more colour. If you don’t need any more flowers, you could even fill them with herbs to create a beautiful edible garden.
Popular articles to read next
The best Morrisons plants and homeware to transform your space