

If you’ve treated yourself to a manicure, then soon enough, the time will come when you need to remove your acrylic nails. Whether it's a set of festive nails you want to remove or your summer holiday nails have started growing out, it’s advised to book in at the salon for a soak off where they’ll remove them safely and professionally with their tools.
Sometimes, it’s just easier to do it yourself at home, especially if it's Christmas nails you want removing and you're too busy for a salon visit, so knowing how to remove acrylic nails, whether that's on your fingers or toes after a pedicure, at home, is a must if you regularly have your nails done.
If they’re not removed properly and safely, your nails can weaken, break and you could be left with very short, sensitive and sore nails that need some serious nourishment, so to give your natural nails the best chance of remaining healthy after acrylics, you’ll want to follow these steps carefully.
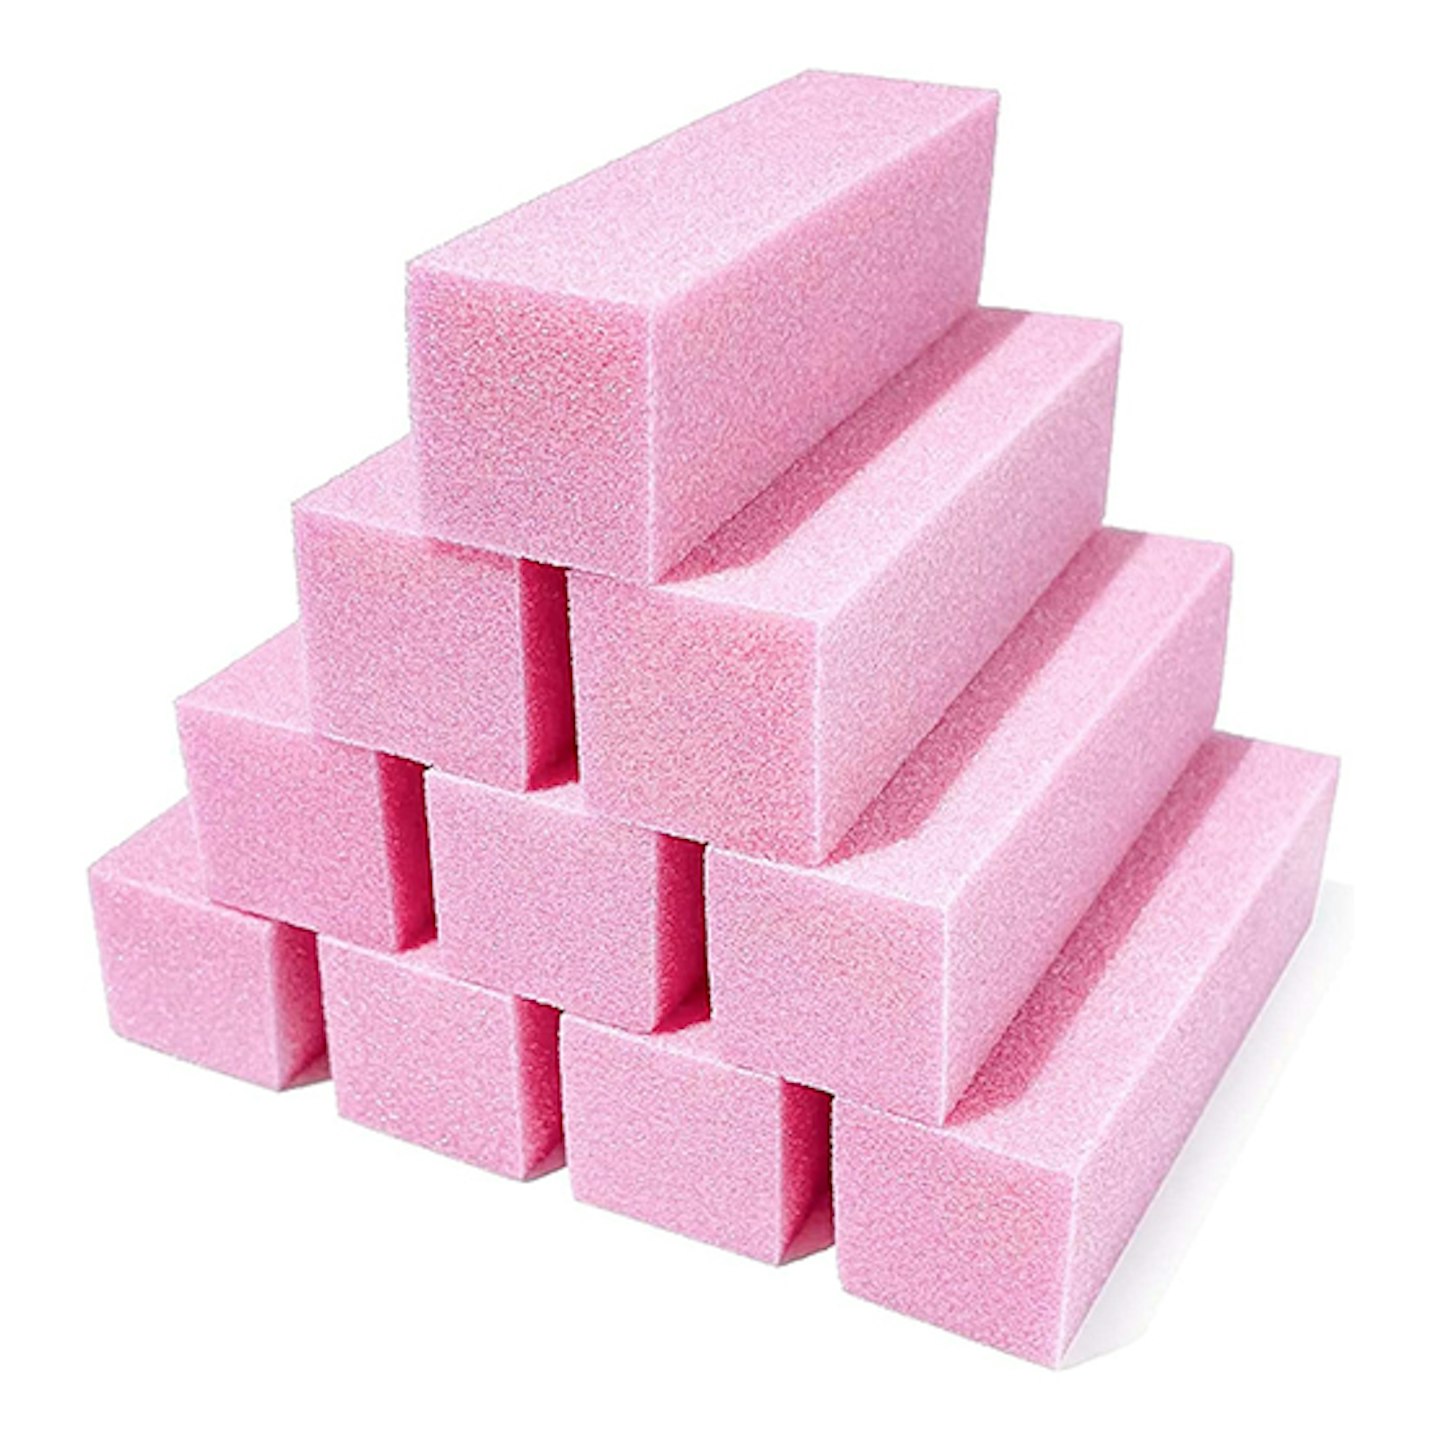
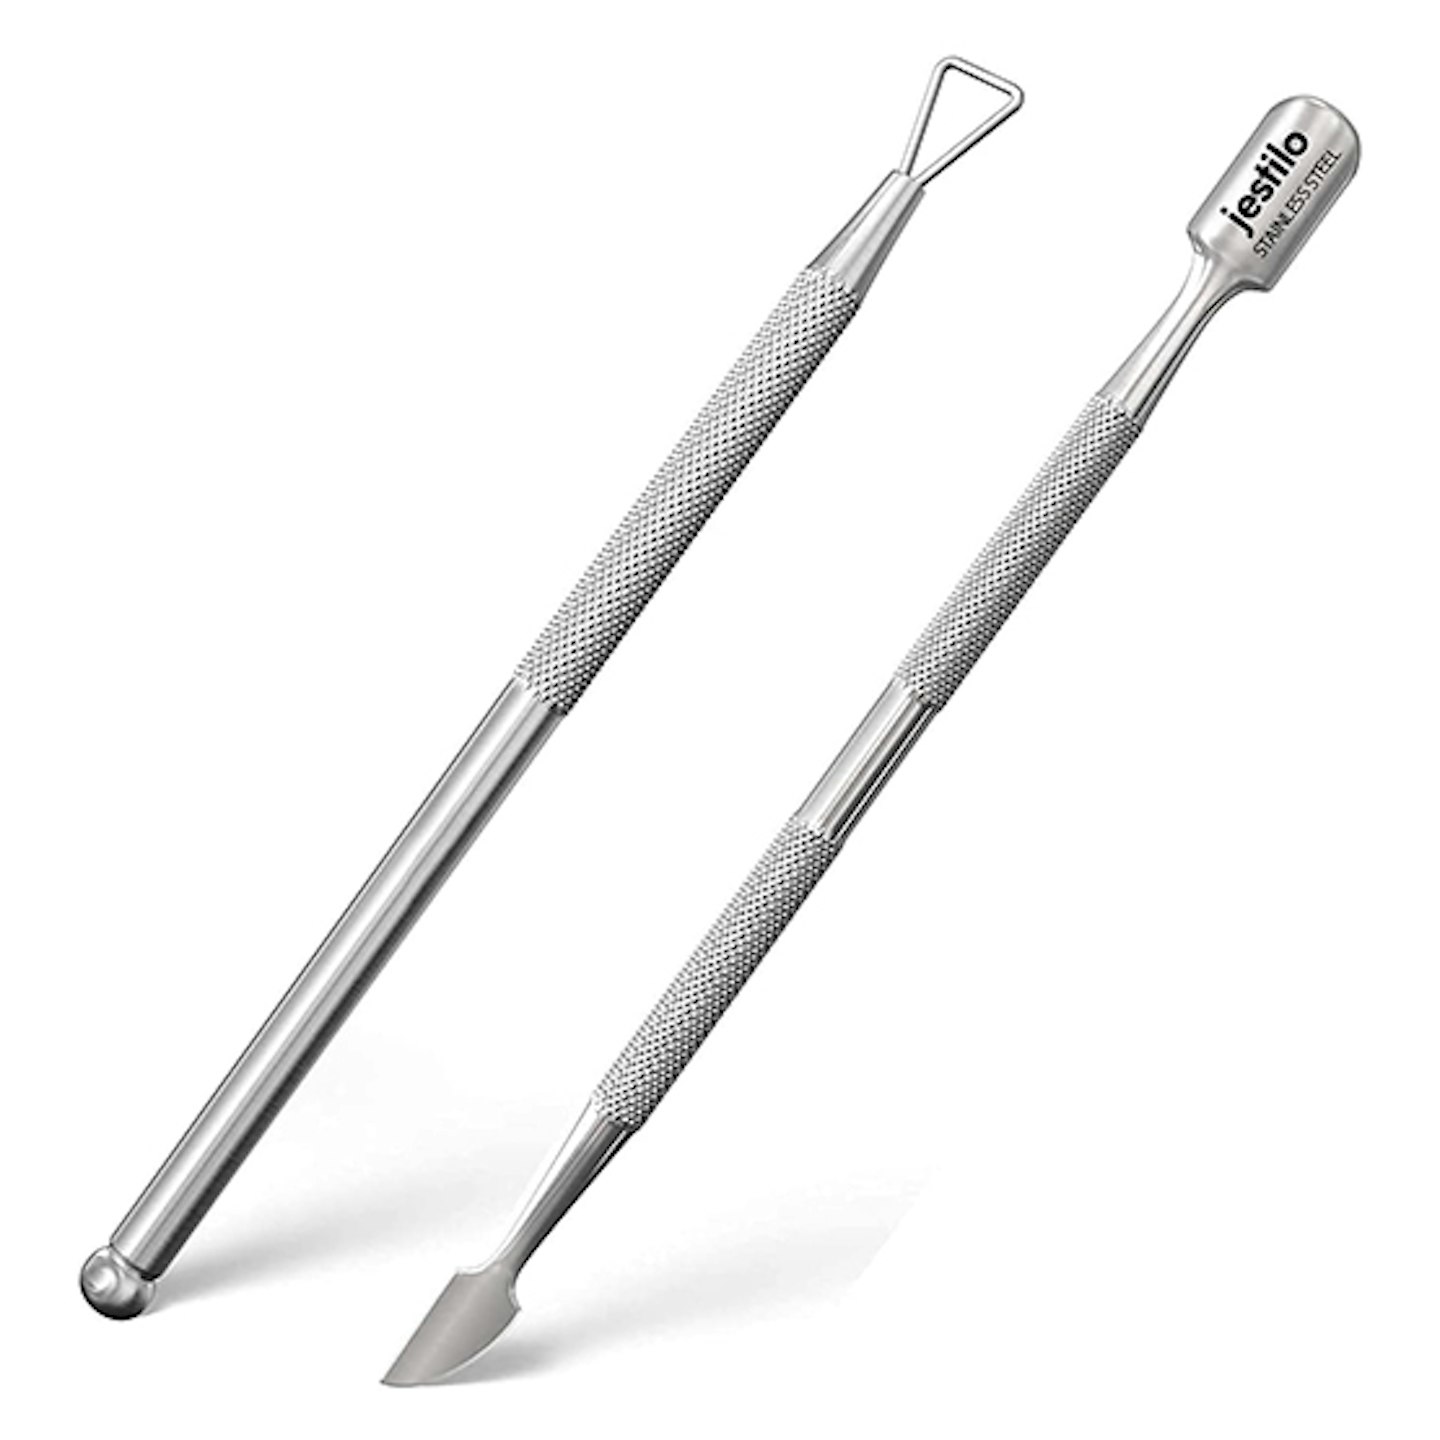
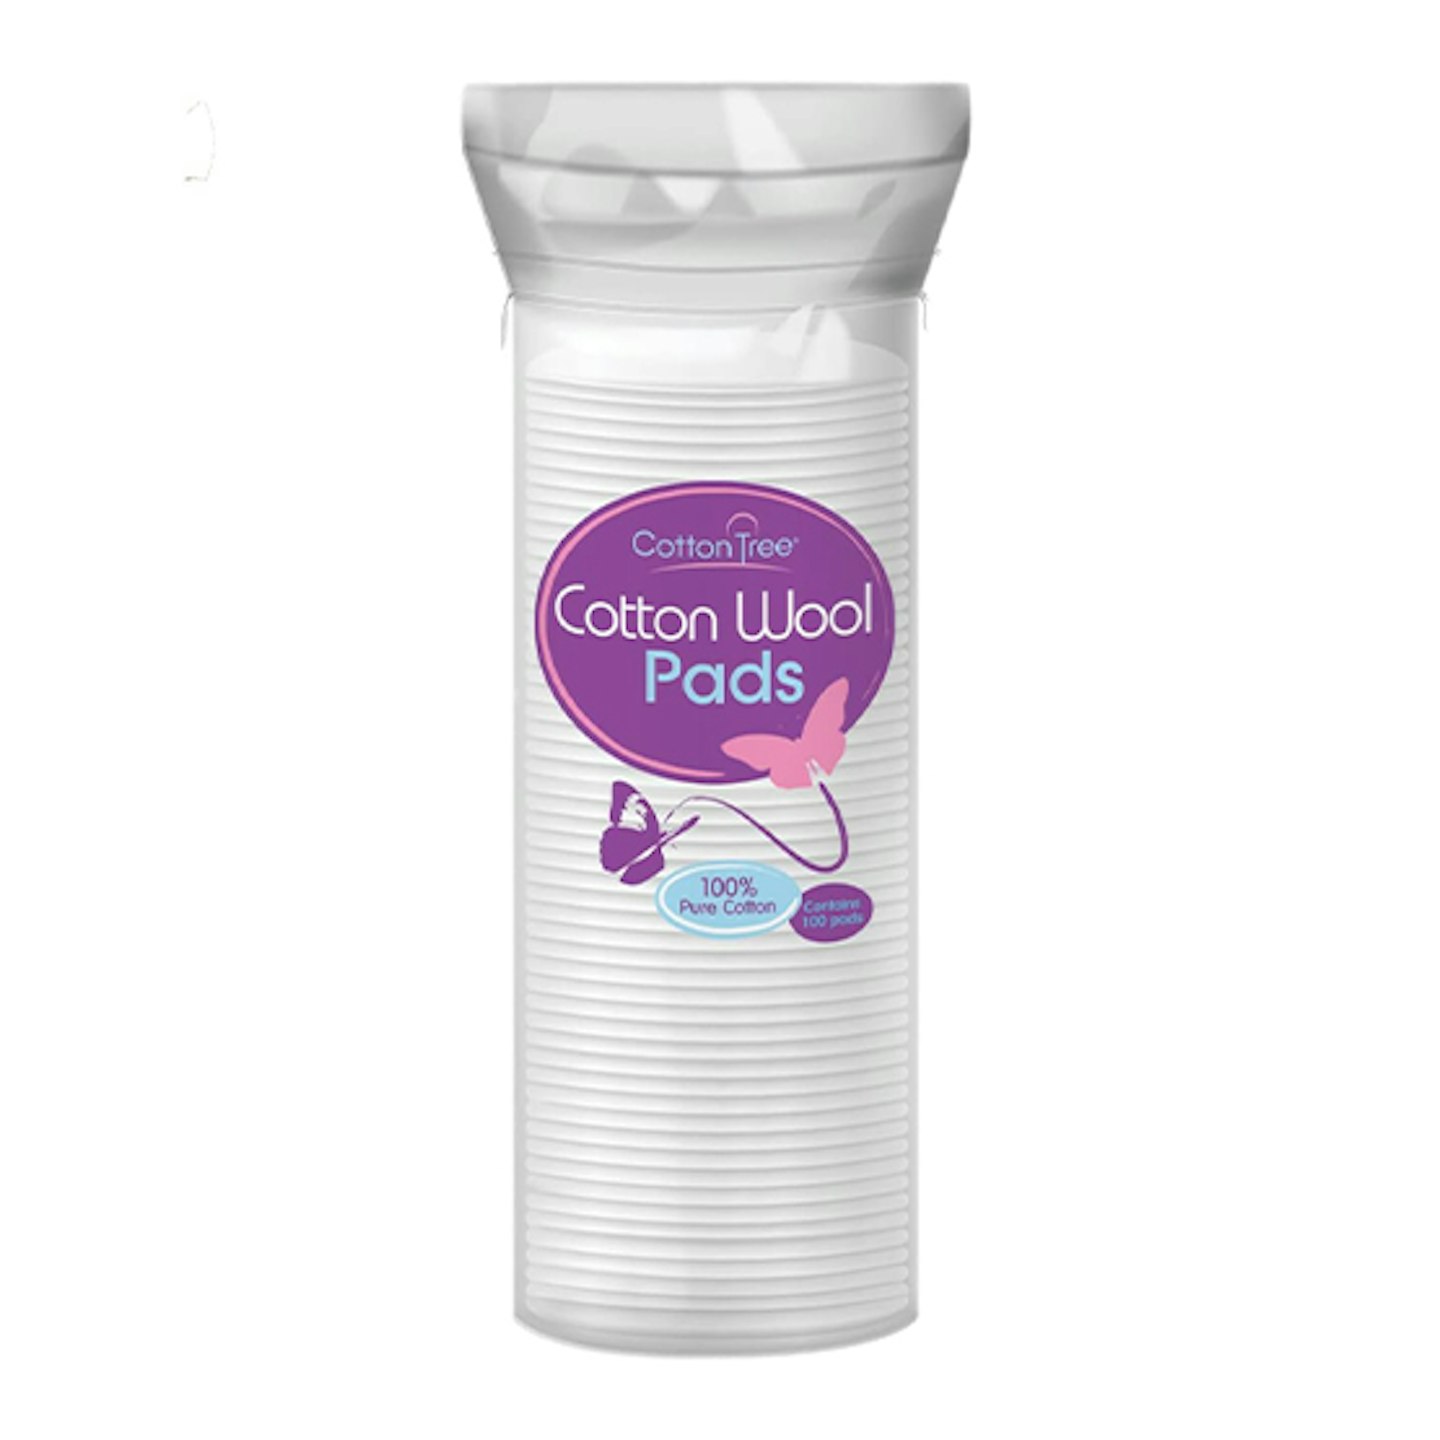
What you’ll need to remove acrylic nails at home
While you may be able to find a lot of this stuff in your home manicure or pedicure set, we'd recommend making sure you have all the below to hand before you start removing your acrylics.
How to remove acrylic nails at home
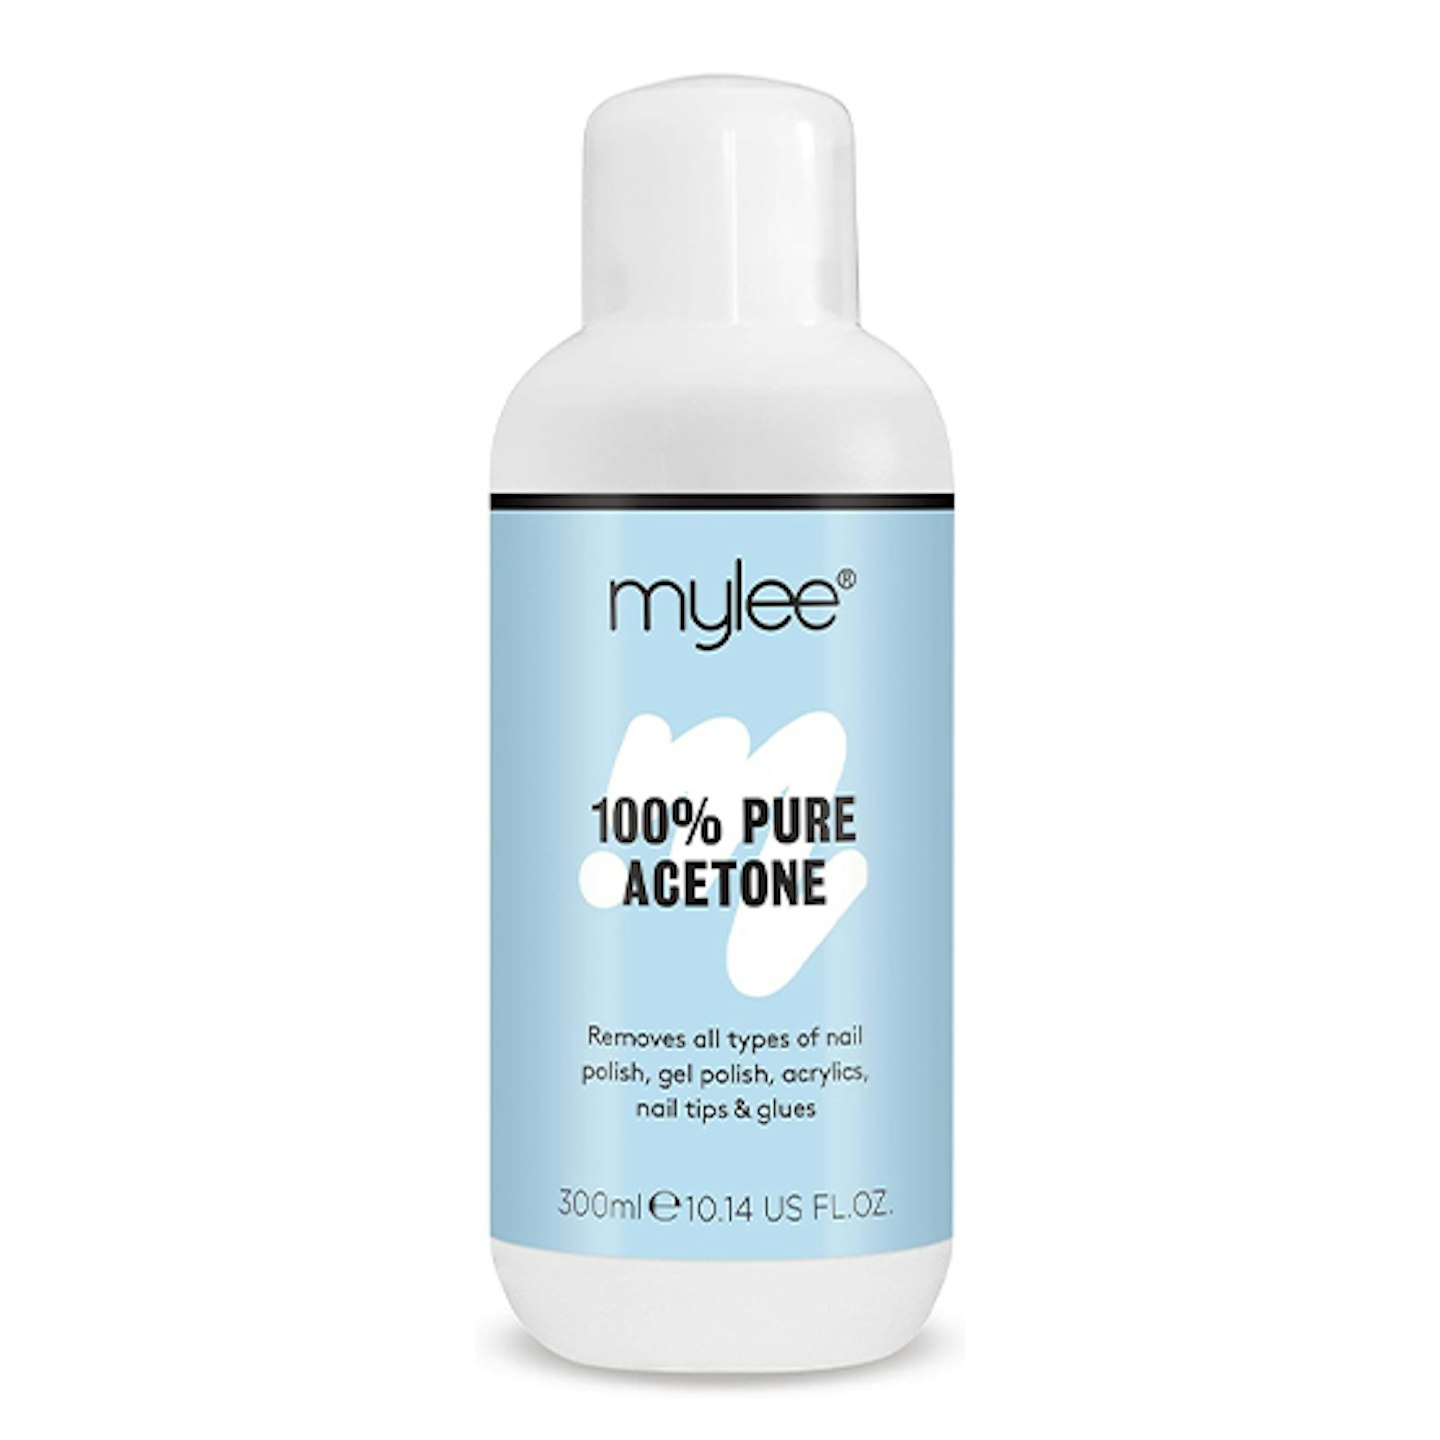
Here's how to remove acrylic nails at home with acetone. Before you begin, make sure you choose a well ventilated area to remove your acrylics as you’ll be using acetone which can irritate your respiratory system.
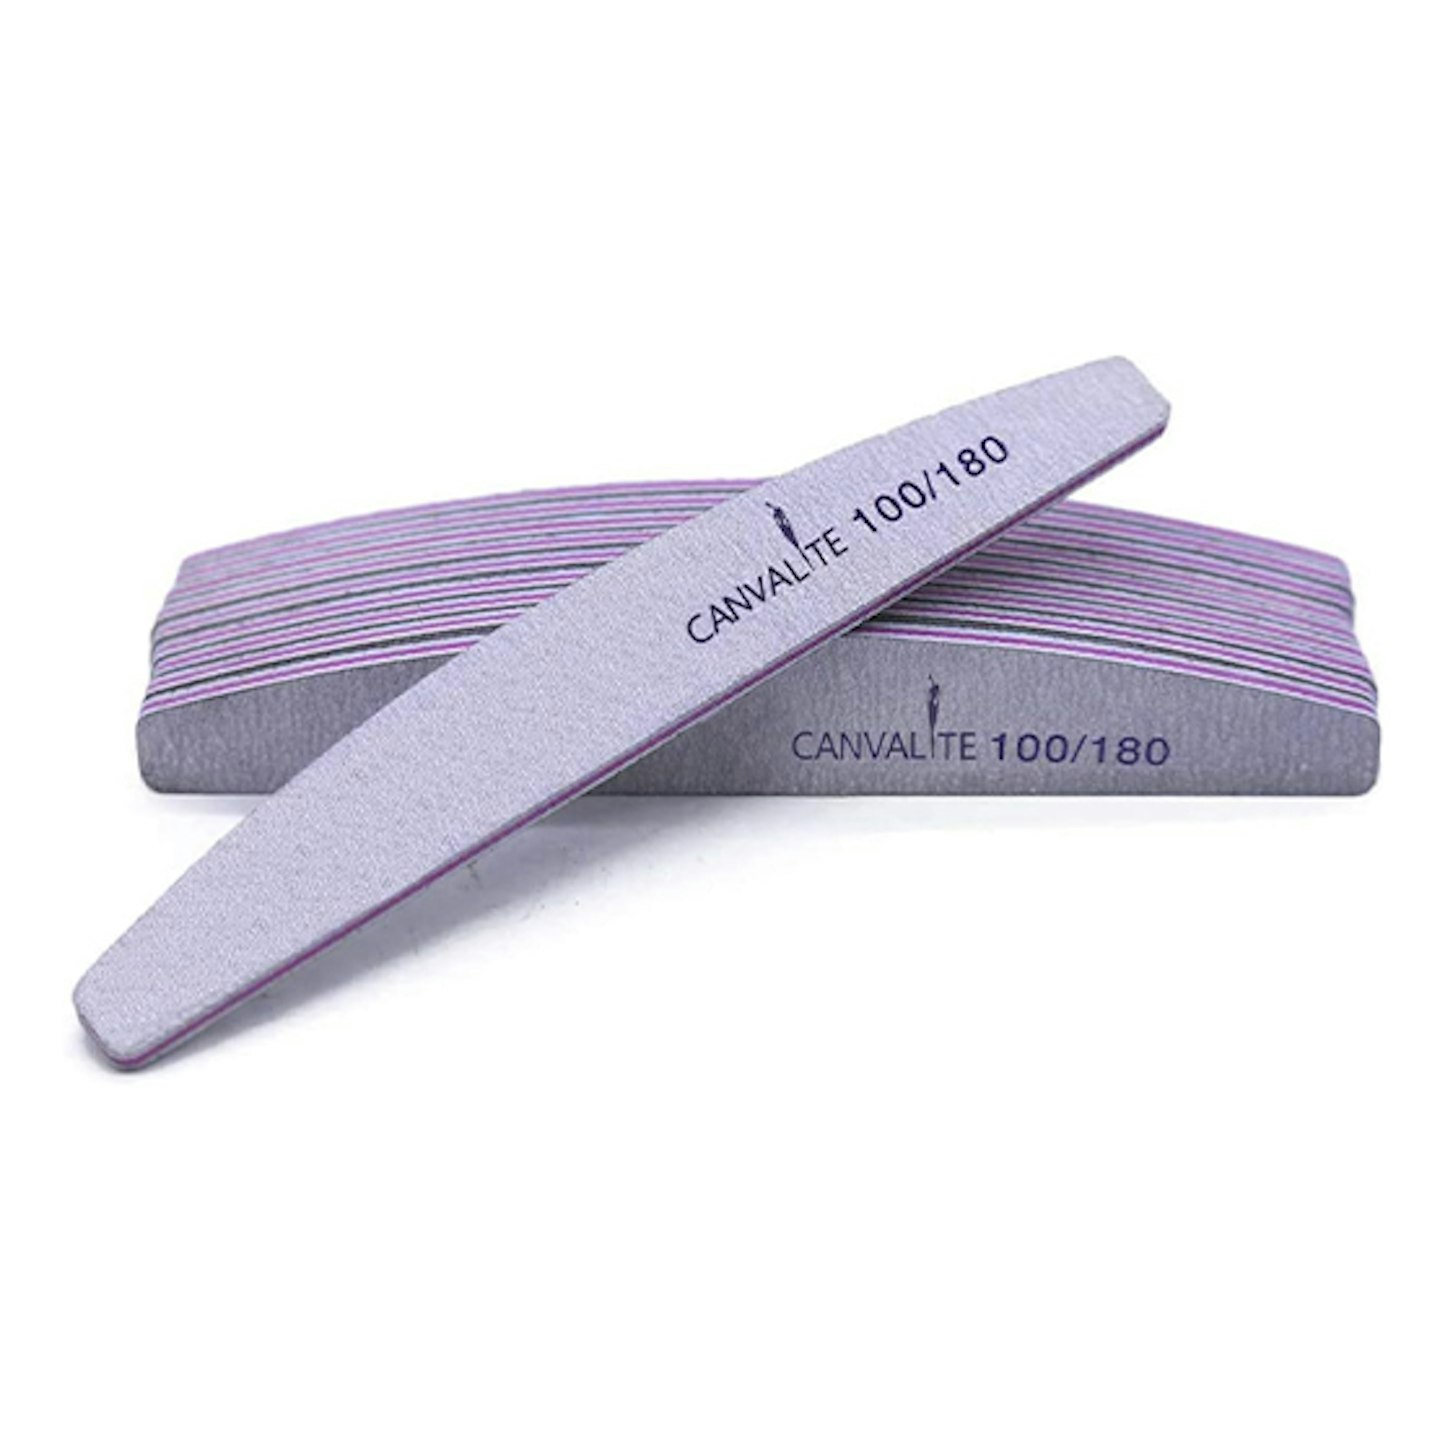
1. Buff the surface
The first thing you’ll want to do is start breaking down the barrier of product on your nails by buffing the surface of your nail with a coarse nail file or buffing tool to roughen up the surface and break down the top coat layer. This will allow the acetone to soak into the nail product to remove it quicker and the more product you file off at this stage means the less amount of time you need to sit soaking your nails.
2. Give the nails a trim
Also depending on how long you want to keep your nails, it’s a good idea to use some nail clippers to cut your nail down to a shorter length before you start soaking off as it means there’ll be less product to soak off.

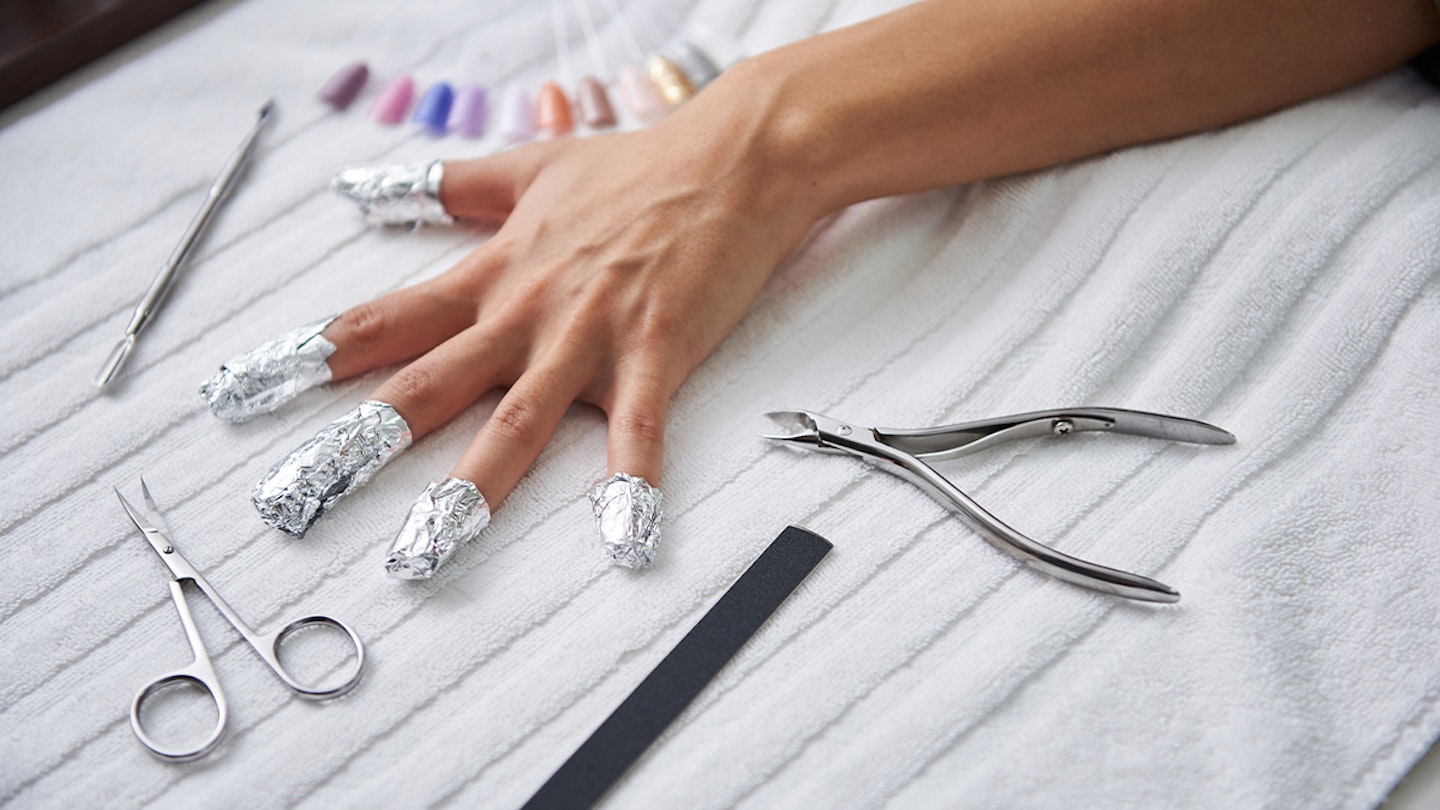
3. Soak with cotton pads and foil
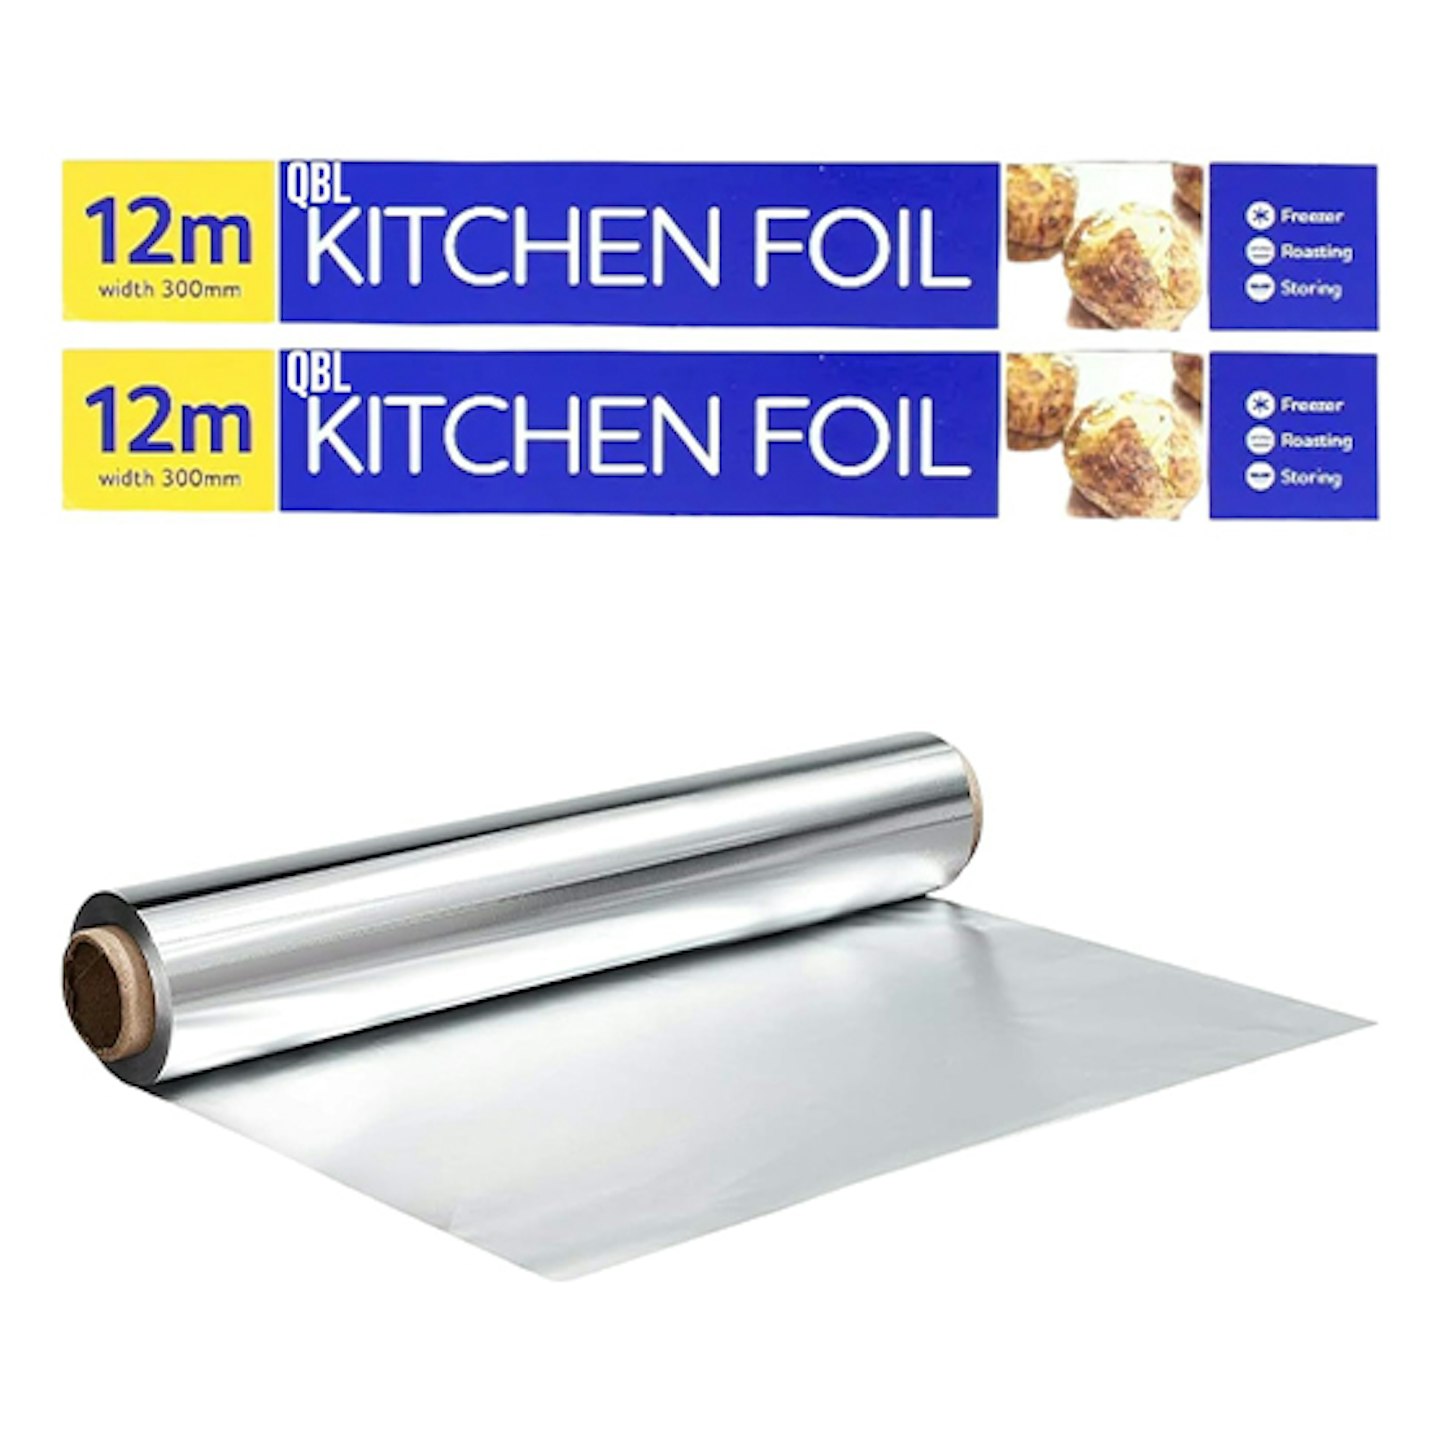
Once your nails are all buffed on the surface and cut to a suitable length for you, take one of the cotton pads and apply some acetone to it. You’ll need to soak the cotton pad in enough acetone to fully cover your nail area. Place the soaked cotton pad over your nail - we like to start with the little fingers first - then take a square piece of foil (aim for around 8cm x8cm or thereabouts) and wrap your finger up in the foil with the cotton pad over your nail and squeeze tight so that the foil is secure around your finger and the cotton pad, securing the cotton pad in place over your nail.
Repeat this process for each nail, aiming to keep the foil around each nail for at least 20 minutes. Note that this process may cause a bit of a burning sensation as the acetone does its work to soak the acrylics off. This is however a much safer way than simply soaking your nails in acetone as this can be very harsh on the skin and finger tips.
4. Check and scrape with tools
Check your nails after around 20 minutes. Give your nails a nudge with the nail scraper tool to see how easily the product begins to budge. If it still seems very hard, then you might want to leave the acetone to soak a little longer.

Once you’re done soaking, begin removing the acrylics by taking your nail scraping tool and scraping off the product. Ideally, the acrylics should come off pretty easily with some gentle pushing without damaging your nails. If this isn’t the case, repeat the soaking process for a little longer.
4. Buff, file and shape
Now all the acrylics are removed, you may notice a little residue sticking around on the surface of your nail. This should come off with a little buffing to the surface of the nail using a buffer tool. At this point you’ll also want to shape your nails with a little filing of the ends.
After care
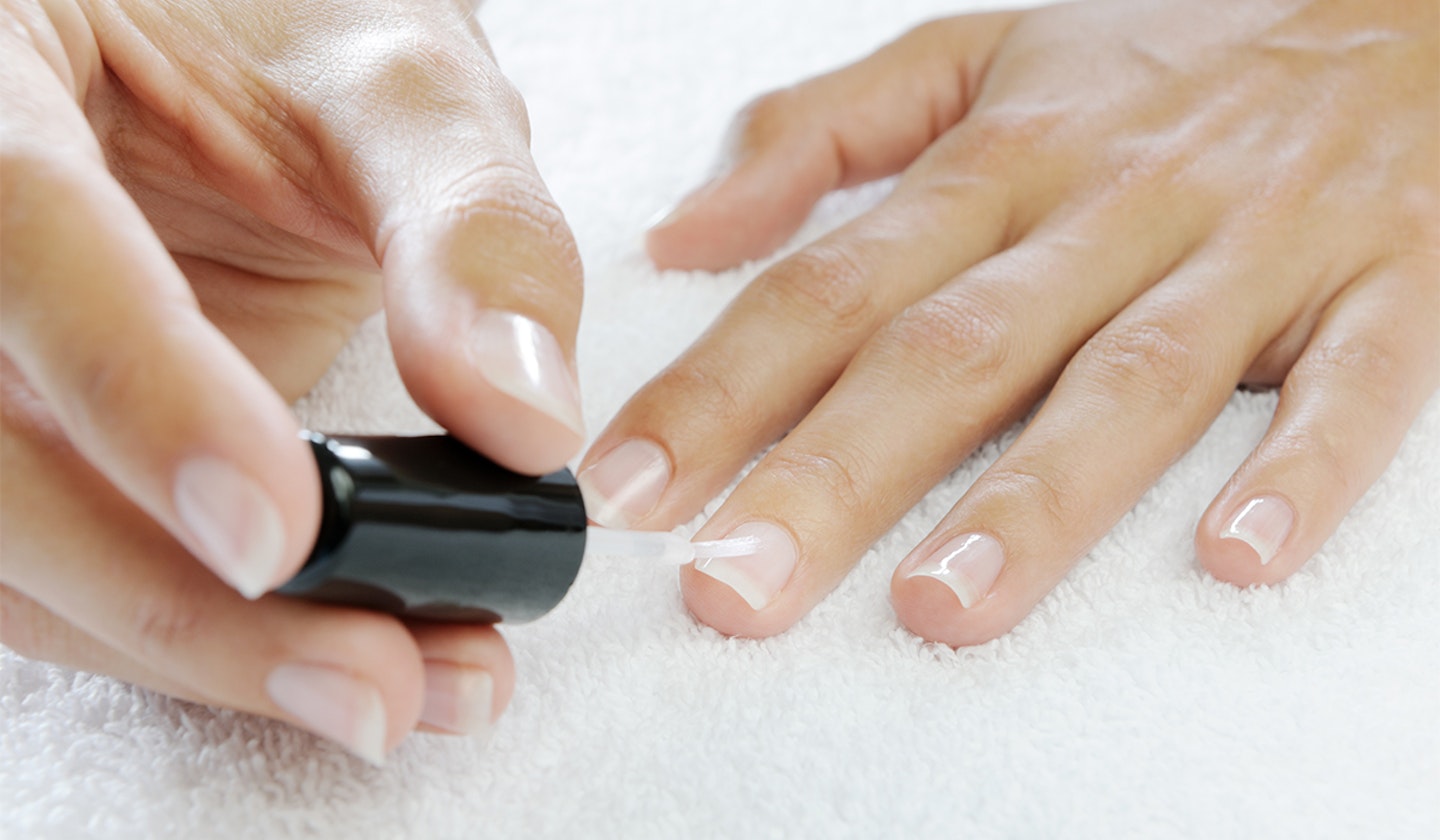
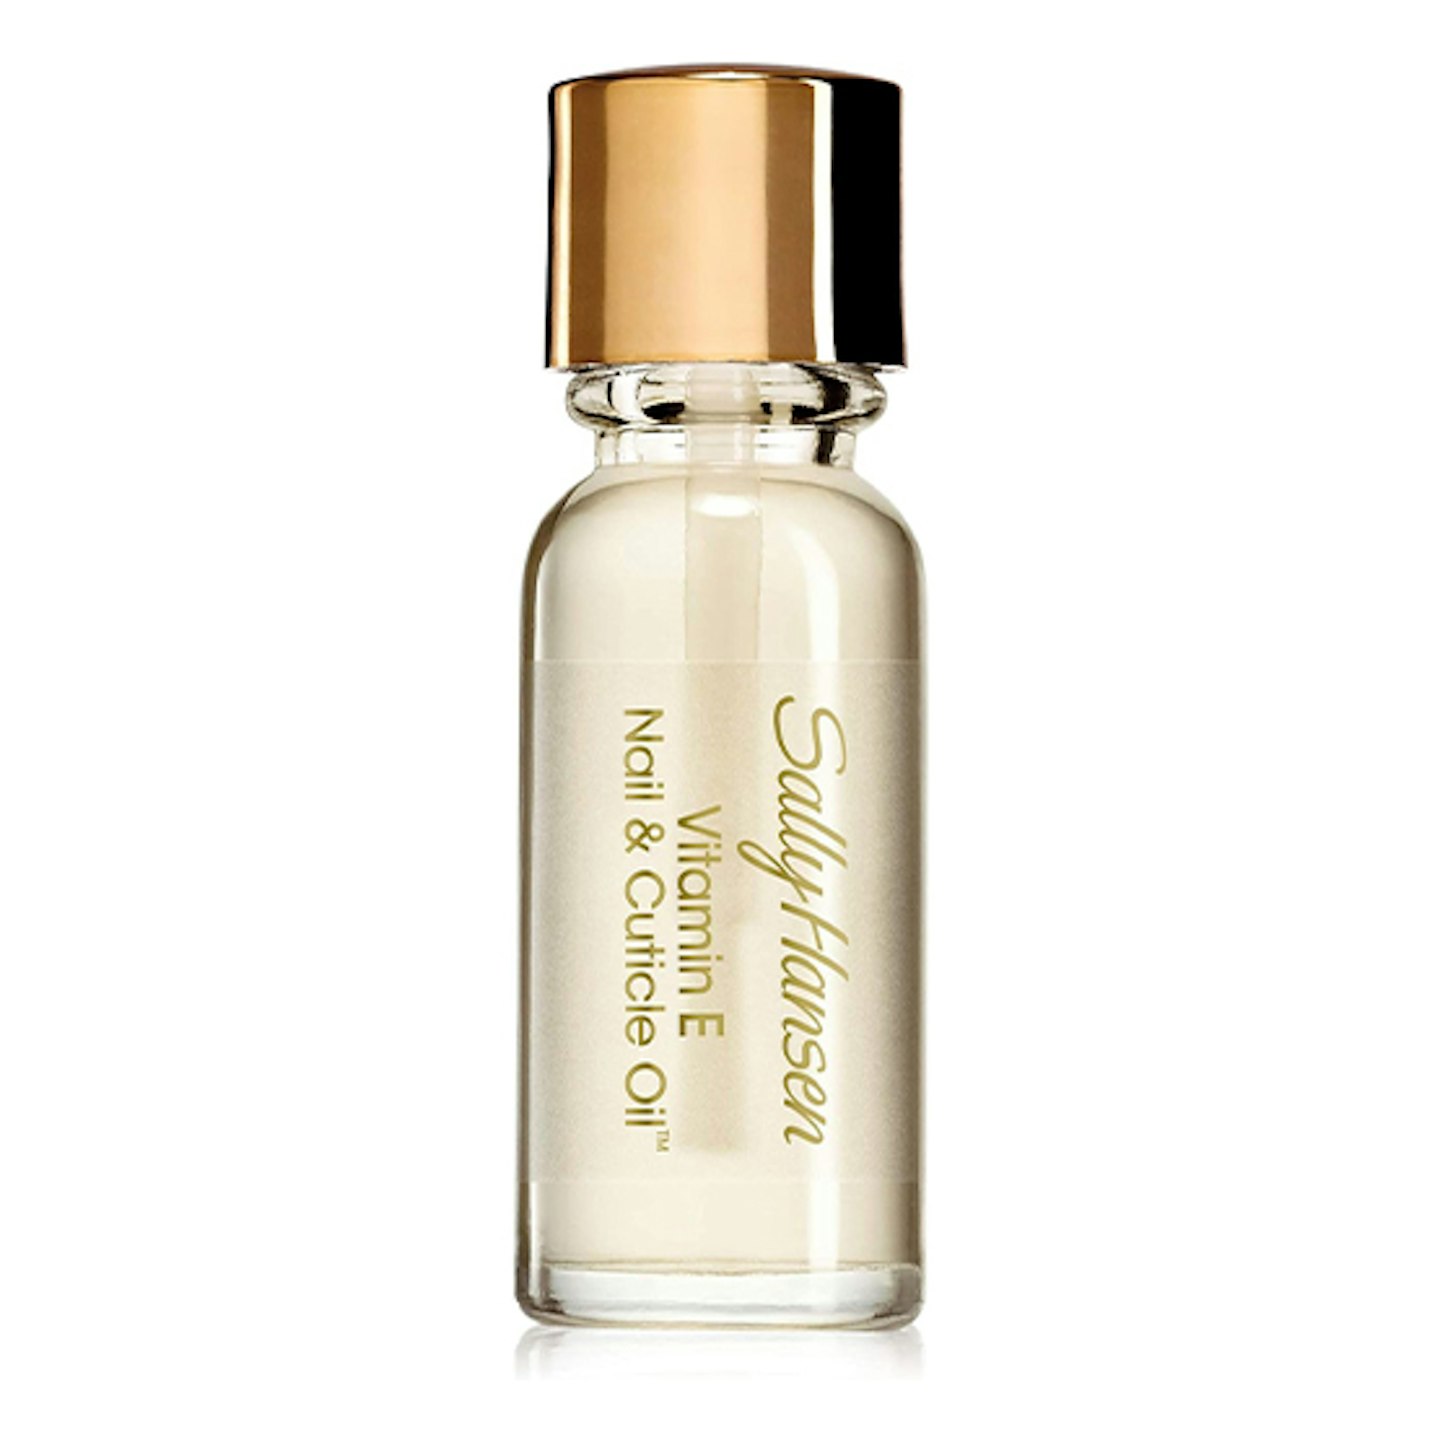
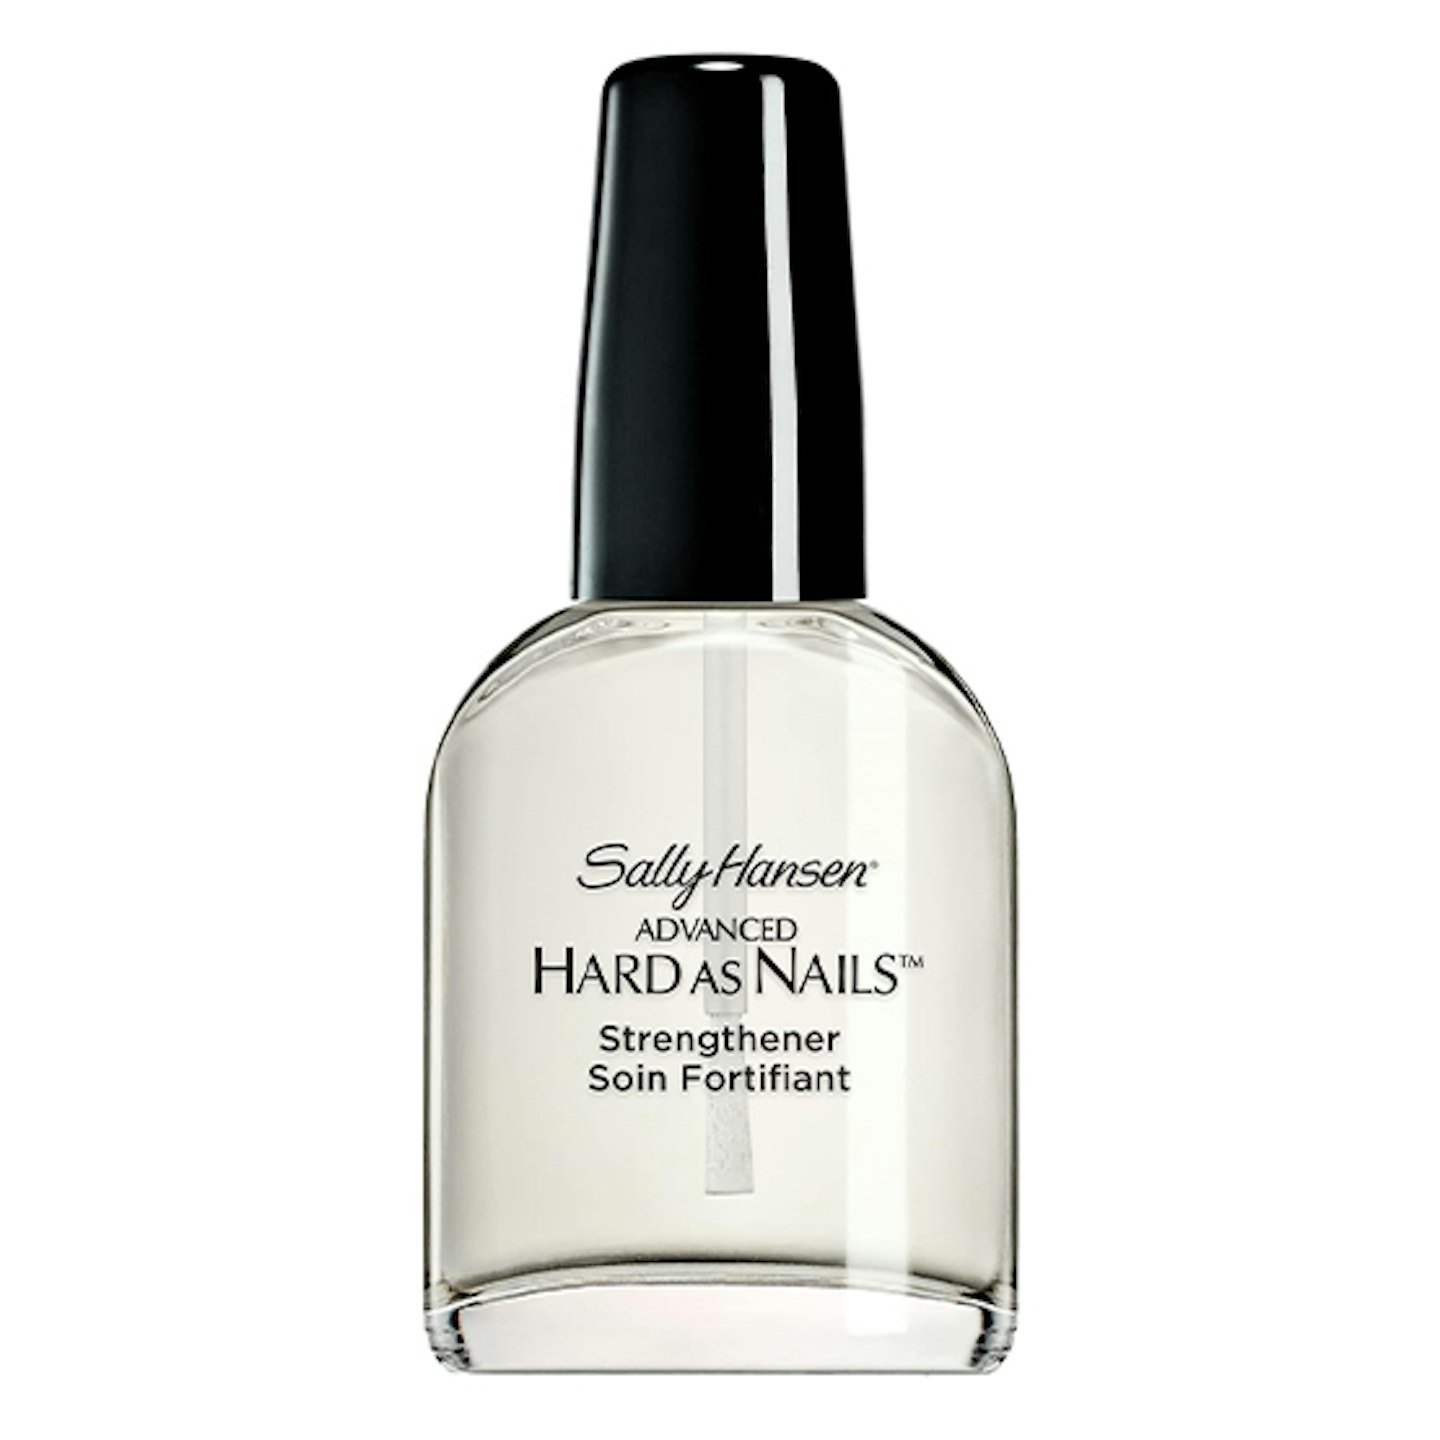
This process has probably left your nails feeling a little worse for wear and very dry which is why you’ll want to make sure you use some cuticle oil daily for at least the next few weeks to nourish your nails. Furthermore, if you’ve noticed your nails are very weak and brittle, you may also want to use a strengthening polish as well as an oil to give your nails an extra boost. Your skin may also be suffering thanks to the acetone so it’s a good idea to regularly use hand cream if you aren’t already to keep your hands soft and hydrated.
Are there any alternatives to acetone?
Wondering how to remove acrylic nails at home without tools or acetone? In short, you can't really. Acetone is by far the most effective chemical when it comes to removing acrylics and gel nails and other methods such as soaking your nails in warm soapy water just doesn’t cut it.
To enjoy more regular stories just like this, become a Yours subscriber and become part of our fun and friendly community of like-minded readers.

Lorna White is a Senior Digital Writer at Yours.co.uk. She was previously a writer at Yours Magazine writing features and news stories before joining the digital team. Lorna loves the great British countryside and likes to spend her spare time out and about in her home of Nottinghamshire walking her dog, Pippin.