It might have been practiced since ancient Roman times , but there’s never been a better time to try soap making than right now.
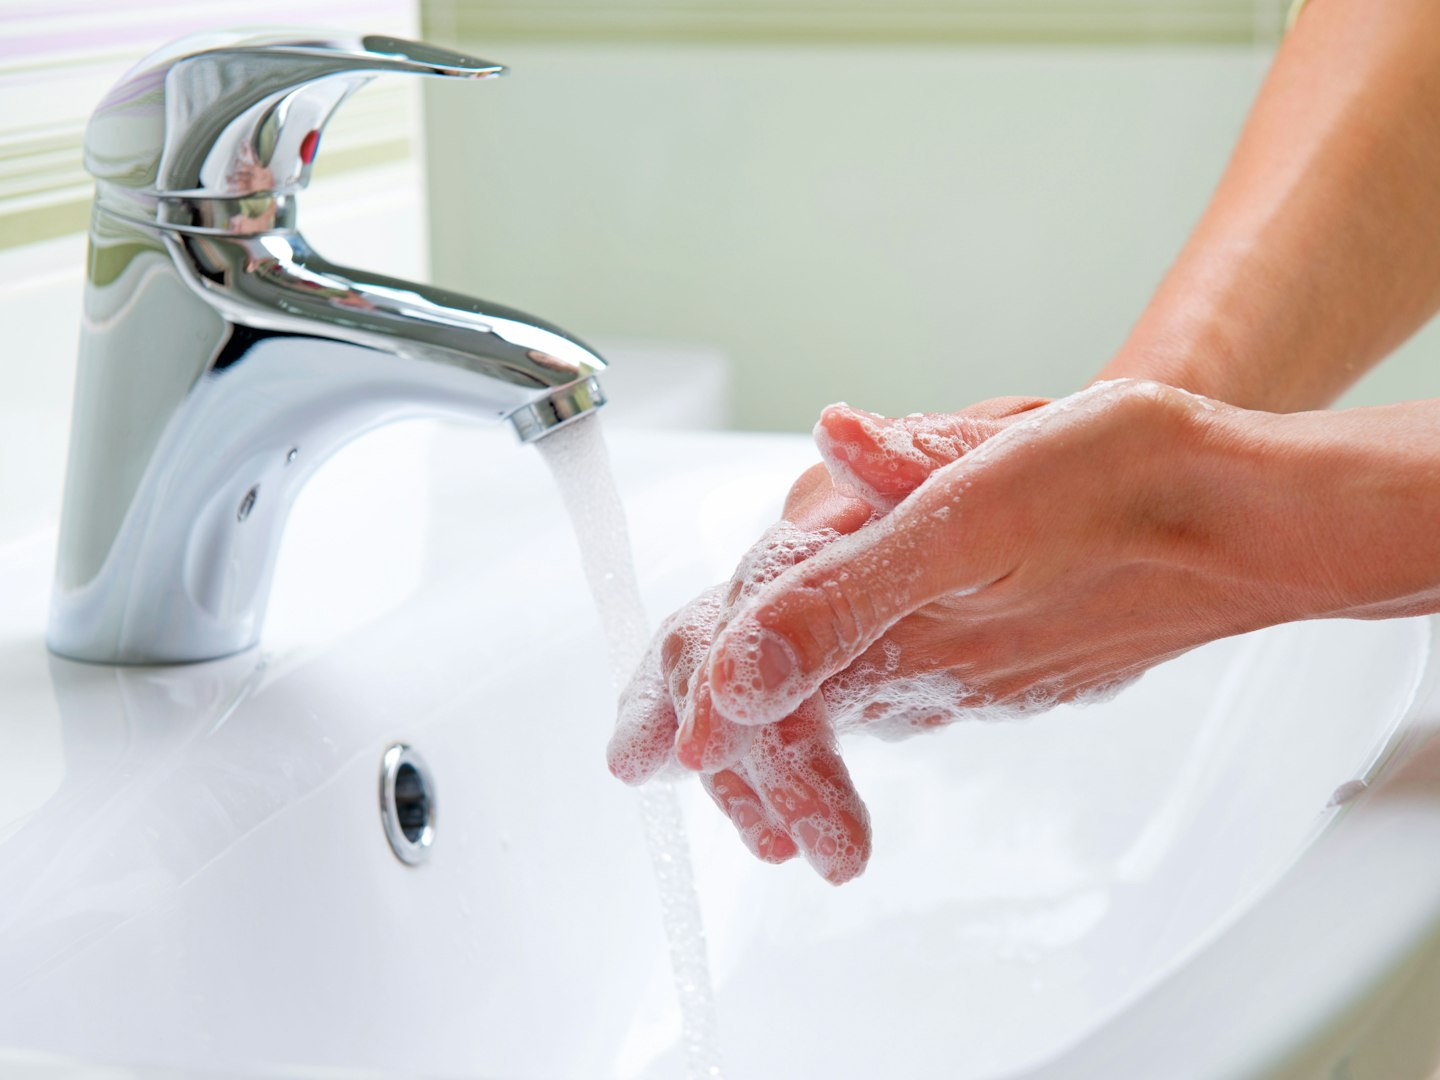
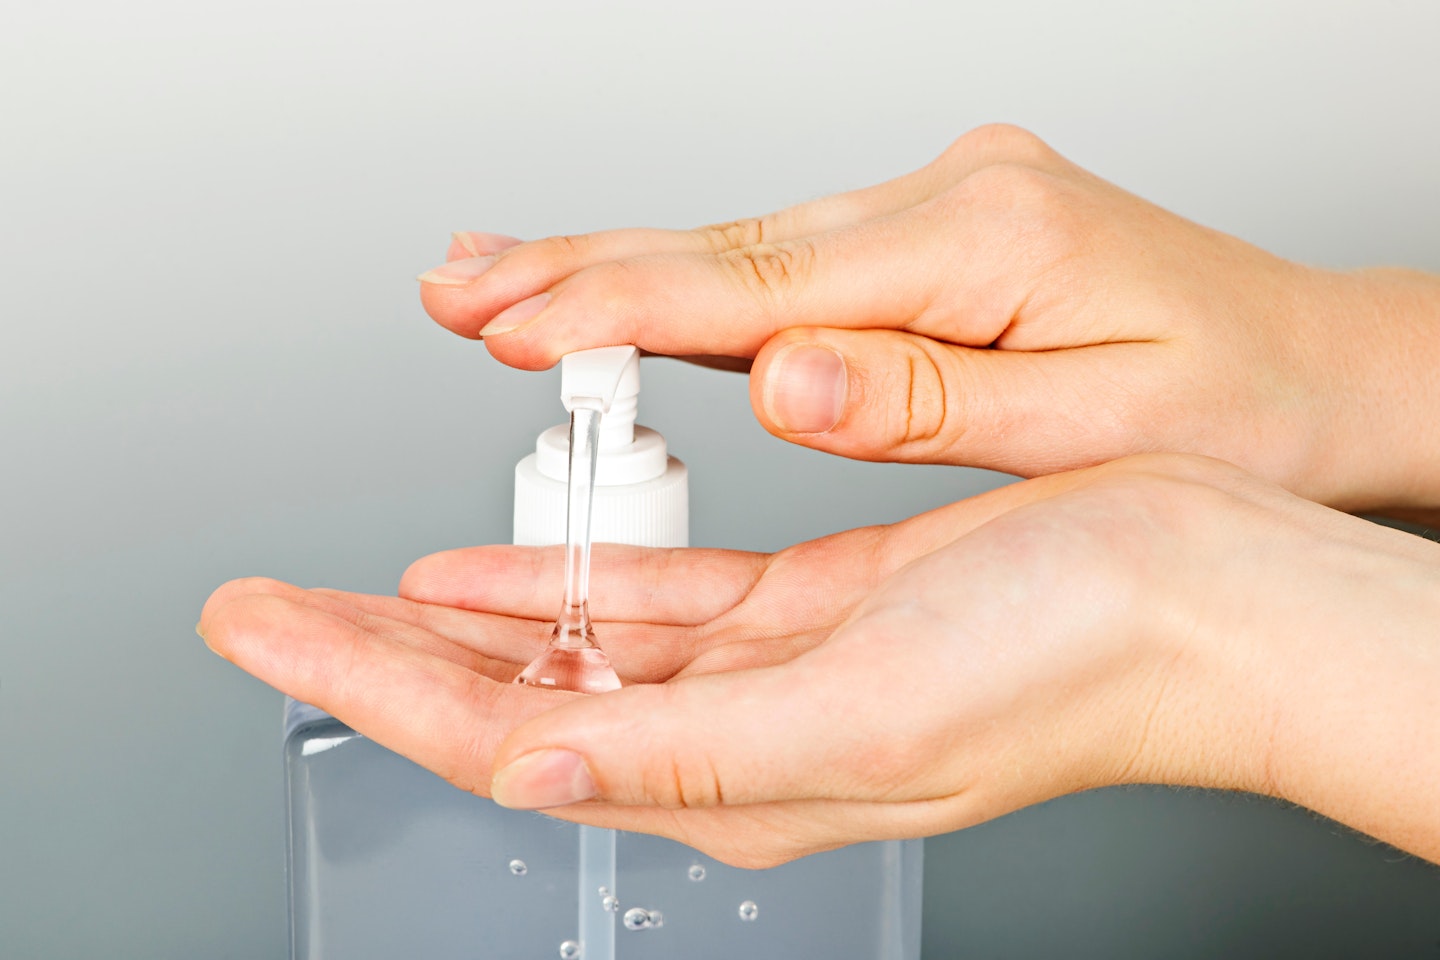
For a start, at a time when washing our hands has never been more important during Covid-19 , making your own soap is an easy and cheap way to keep yourself in constant supply of the germ-fighting stuff.
What’s more with so many shop-bought soaps still covered in plastic packaging, DIY soap is a sure-fire way to keep clean while protecting the planet.
And it’s fun! There are lots of different soap making projects you can try but the two we’re going to share with you – one for a soap bar and one for hand soap - are some of the simplest and most fun to try from your own home. Once you get the knack of it, you could even branch out into making soaps as a lovely gift for friends and loved ones.
Finally, several shop-bought soaps contain a number of chemicals and additives. Making your own, however, makes sure that you know everything that’s going in your soap and onto your skin. For that reason, we’ve picked two totally natural recipes.
While many projects make soap using lye (the common name for sodium hydroxide) which is caustic when it touches the skin so working with lye at home can be hazardous, our projects are lye-free, meaning it’s safe, natural and easy to do while at home.
How to make bar soap without lye
What you will need:
• Soap base
• Pan or heat-resistant container
• Wire whisk
• Essential fragrance oils
• Soap dyes or spice (optional)
• Soap mould or silicone mould
The easiest technique for making soap without having to touch lye is called melt-and-pour.
The idea is that you buy a premade base that you melt, customise with your favourite colours, smells and then pour the mixture into a mould.
You can buy soap bases from a variety of online outlets as well as at many craft stores. We like The Soap Kitchen’s collection which offers a range of bases from Soil Associationcertified soaps to ones made with olive oil or goat’s milk.
Once you have your soap base, follow the instructions on the packet to see how long to heat your base for. You can usually do this either in a pan on a medium-low heat on the hob or in a heat-safe container in the microwave. If using the microwave, only heat the base in short bursts so you can keep an eye on when it starts to melt. Avoid stirring the mixture as it’s melting but at the point all the base is fully melted.
Once the soap is molten take it off the heat or remove it from the microwave. This is where you need to move fairly speedily as the soap easily solidifies- if that happens, though, simply pop it back on the heat just for a few moments.
Now place your container on a heat resistant surface and stir in a fragrance of your choice using essential oils of your choice. Usually, about 1 teaspoon of fragrance per lb of soap base works well.
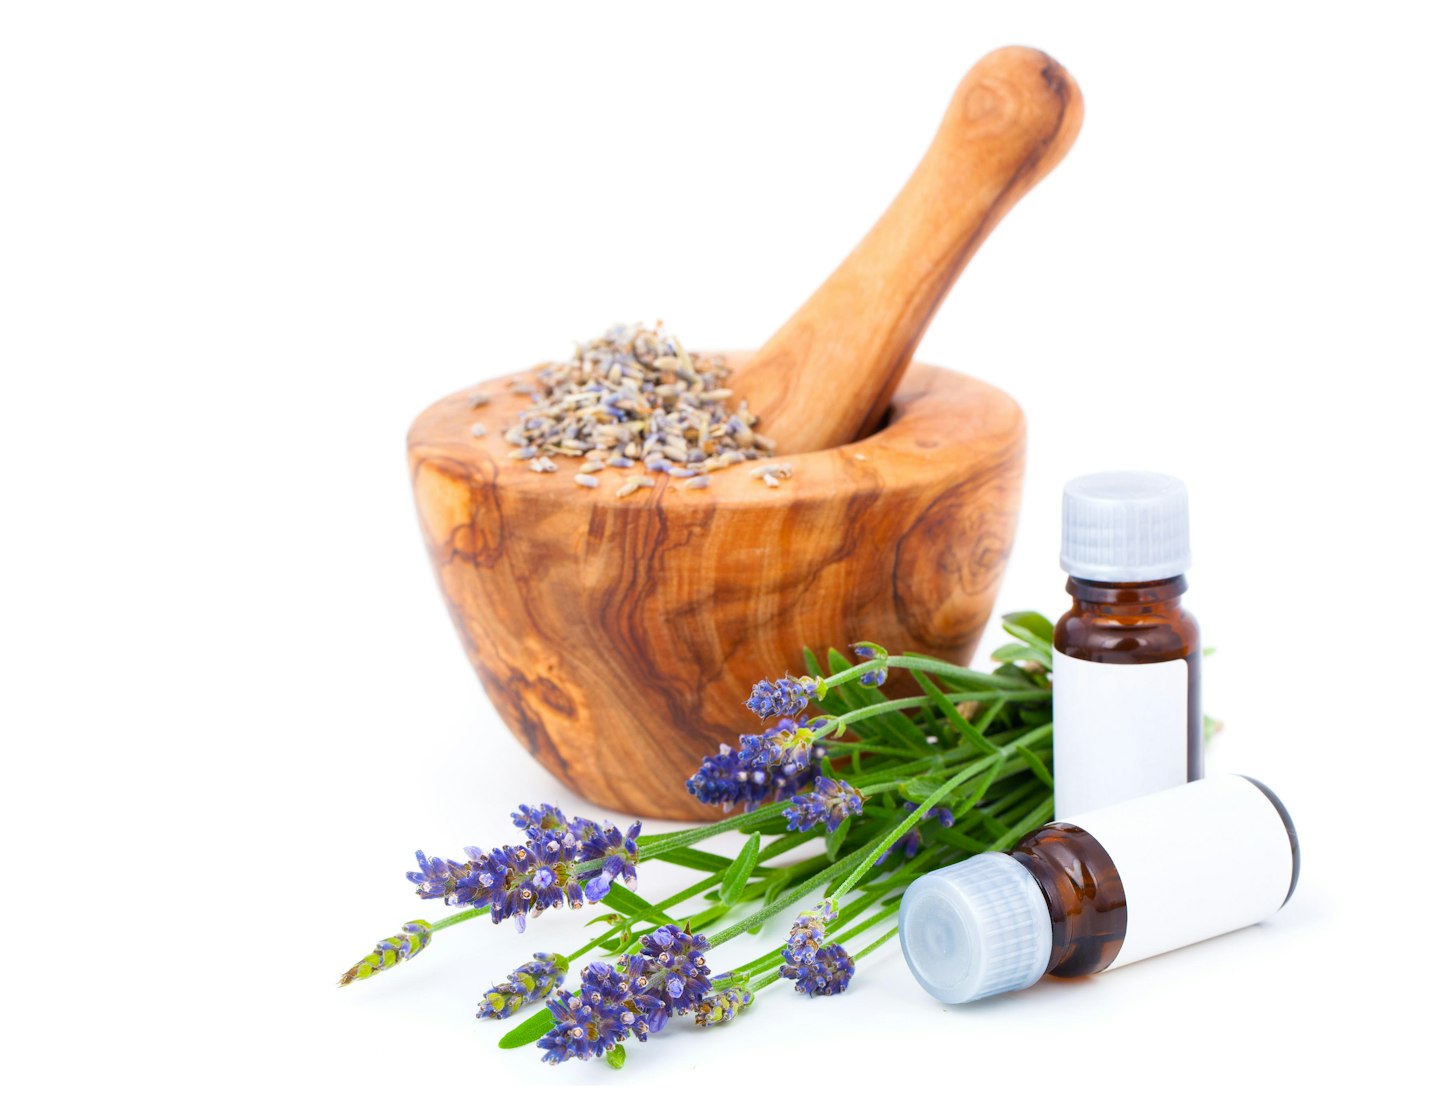
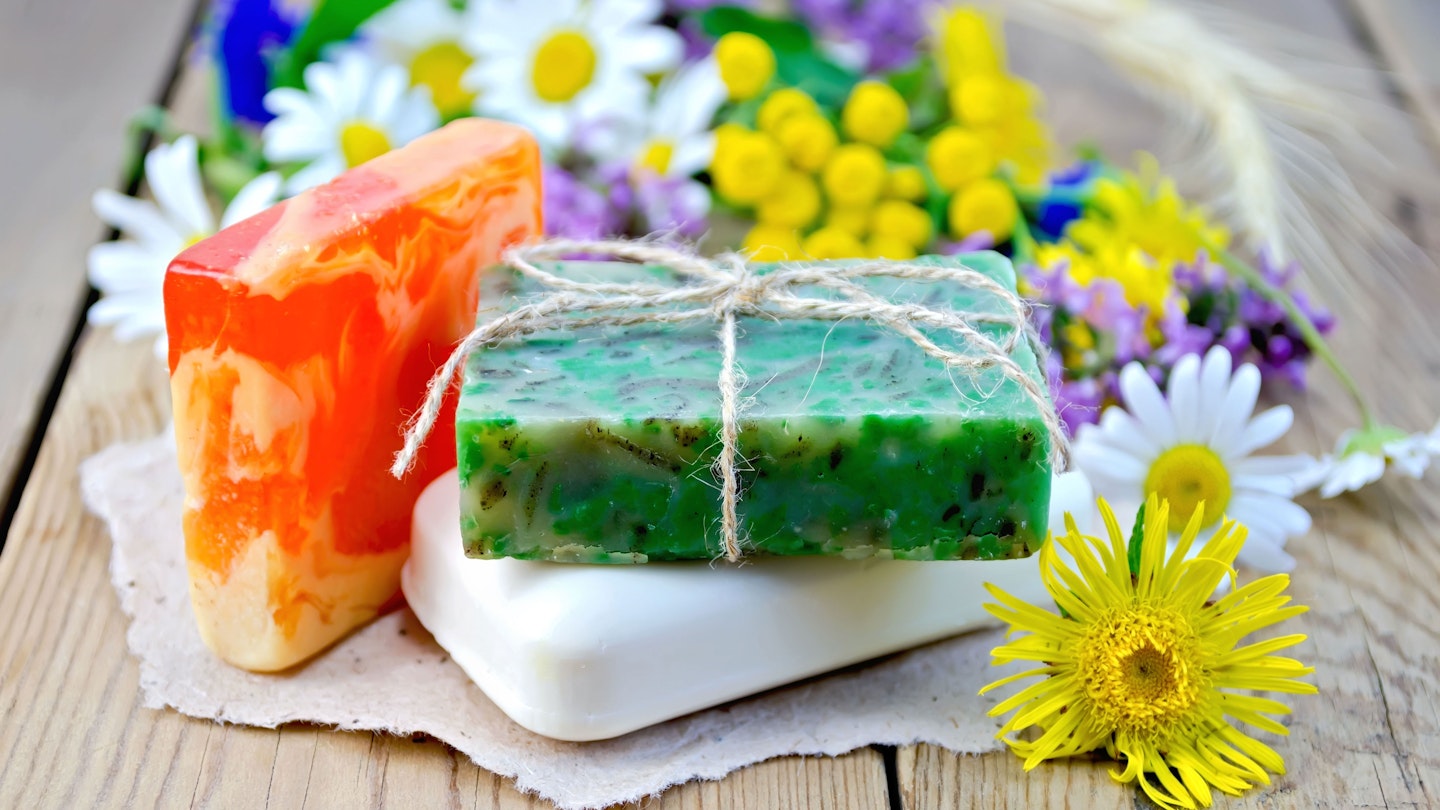
You can also choose to add dried herbs for texture or colour – dried lavender flowers rosemary, chamomile flowers or calendula all work beautifully. And to make it even prettier, add some colour either using soap dyes (available in most craft stores) or add colour naturally with spices such as cinnamon, ground coffee or beetroot. Lovely Greens have some great ideas for adding natural colours to soaps.
Alternatively, why not add some shea butter to leave your skin silky soft? Simply add shea butter, then alter the other oils to ensure proper saponification.
Use a wire whisk to stir everything evenly through the mixture.
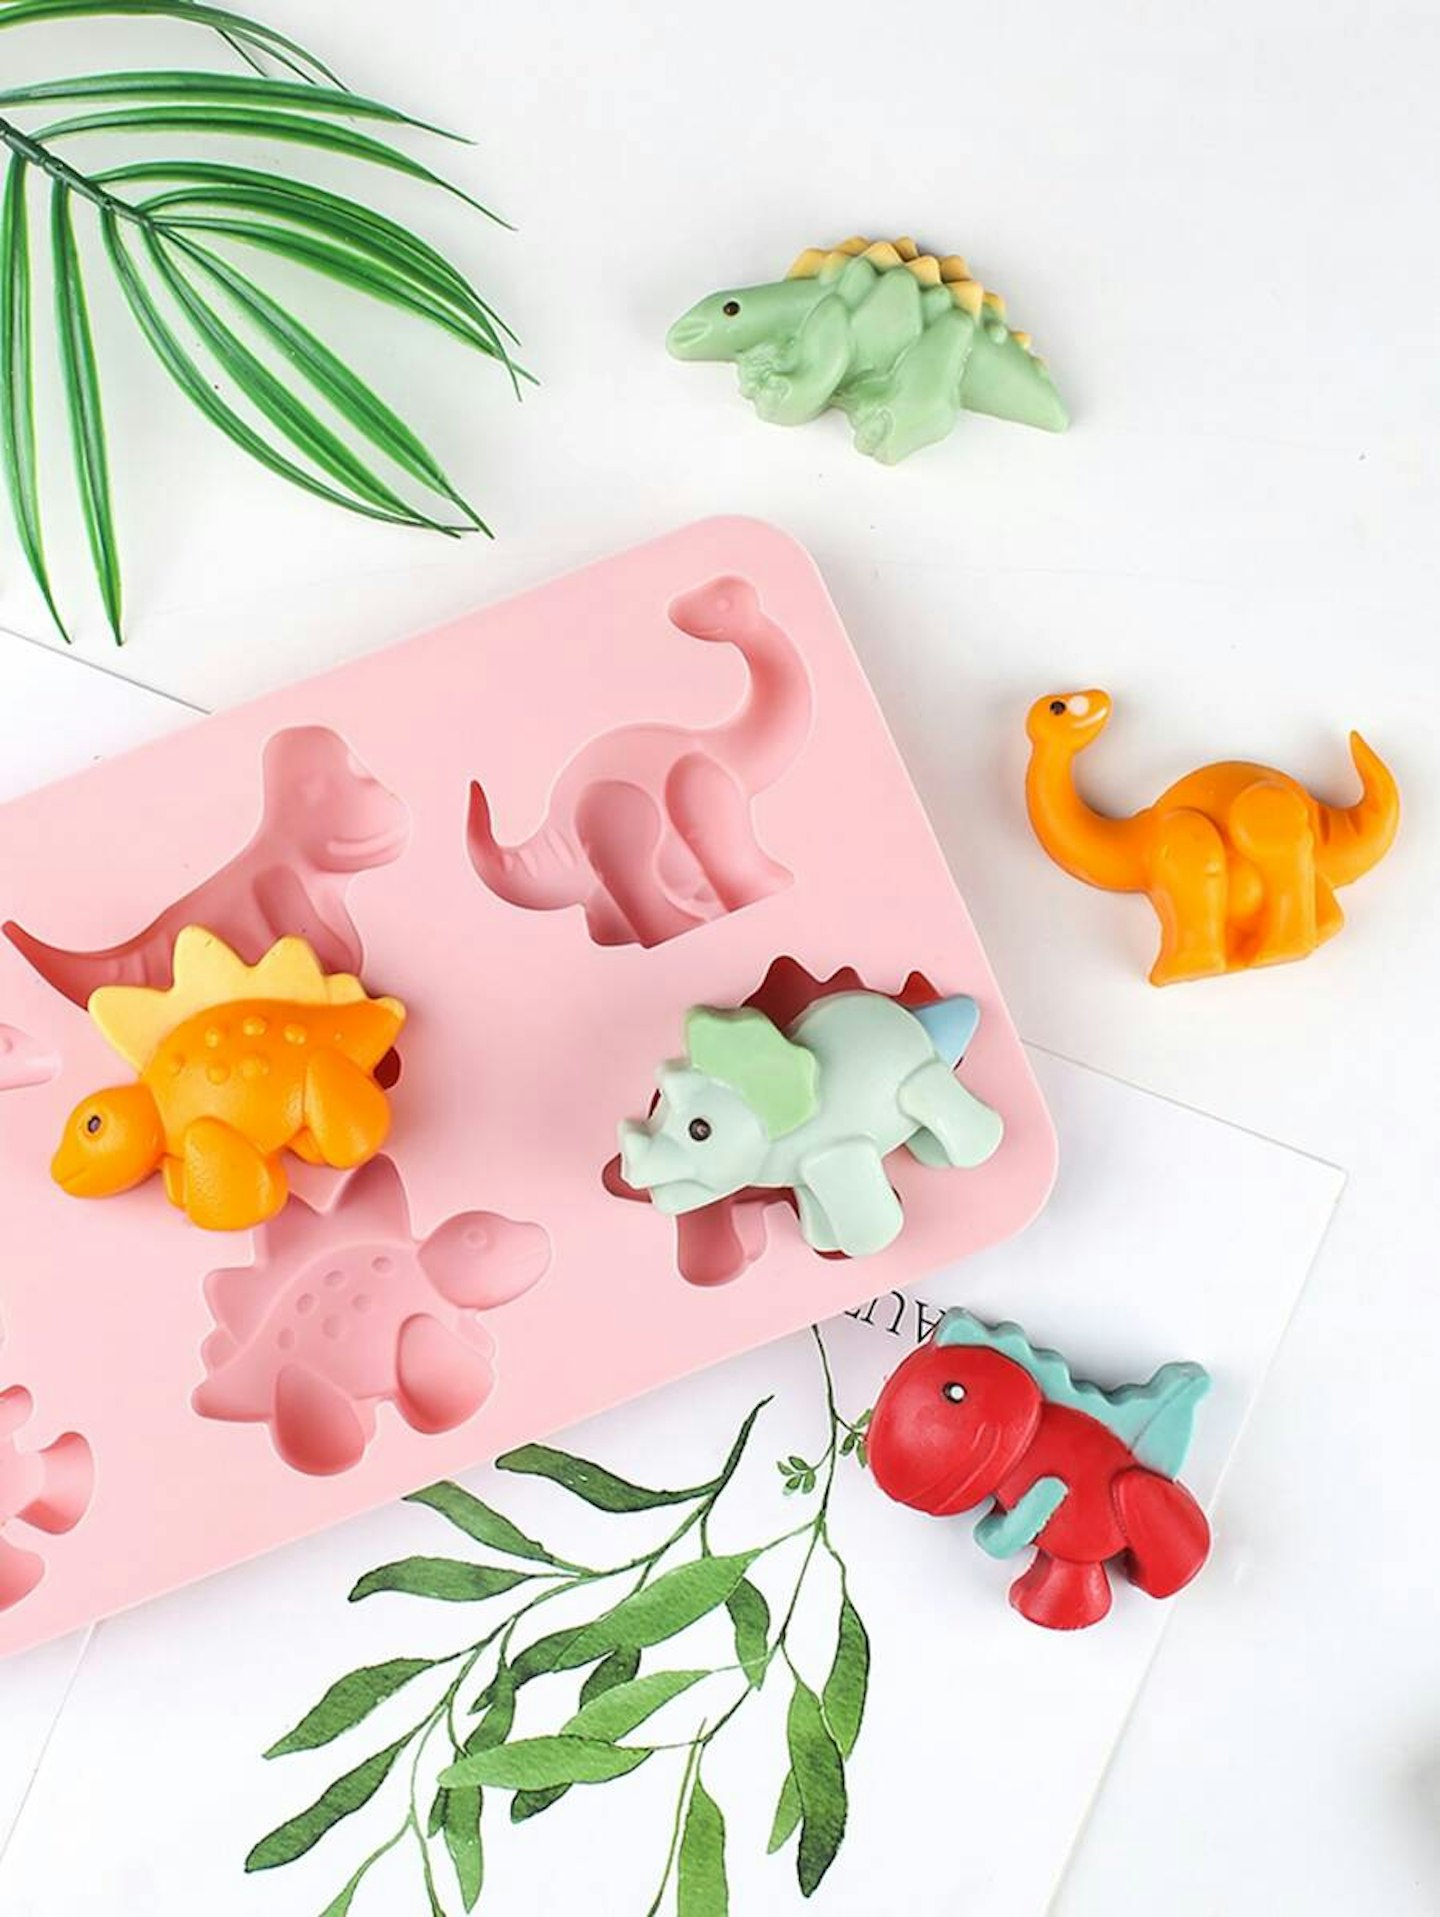
Then once you’re happy with the mixture, pour it into a pre-prepared moulds, filling them as close to the top as possible as the soap won’t expand. You can buy moulds in most craft shops and online in all sorts of shapes and sizes. If it’s a gift, maybe consider a fun mould like this dinosaur shaped mould or this seashell themed mould.
Finally leave your homemade soap to cool at room temperature in the mould, placed on a flat surface. Try not to touch it while it cools – this could take between 1 - 24 hours depending on the size of the soap. But once hard, pop it out of the mould and enjoy.
How to make liquid hand soap
Hand soap is so deceptively simple to make, you’ll soon wonder why you ever bothered by the stuff.
To get started, you’ll need an empty 8oz container. You can recycle an old ‘used’ bottle if you like but you’ll need to clean out the dispenser really well by filling it with water, pumping the water through the dispenser and then emptying. Alternatively, you can easily buy by refillable soap dispensers online – Dunelm have a nice, affordable range
Then simply fill your container with water until it’s nearly full. Then add 2 tbsp of liquid castile soap to the top. Any castile soap will do but we like the organic ones like this one.
Finally, to add scent, add a couple of drops of your favourite essential oils. Citrus smells are perfect for the kitchen, while rose or lavender might be more relaxing for the bathroom. Or if you're feeling tropical, what about delicious coconut oil? You can even mix more than one scent together if you’re feeling adventurous such as lavender and rosemary or peppermint and lemon.
VIDEO: Cold Process Soap Beginner Recipe
Sit back and watch this soap making tutorial from Elly's Everyday Soap Making for beginners which demonstrates the full method for cold process soap.
The best soap making kits
Just so you know, whilst we may receive a commission or other compensation from the links on this page, we never allow this to influence product selections.
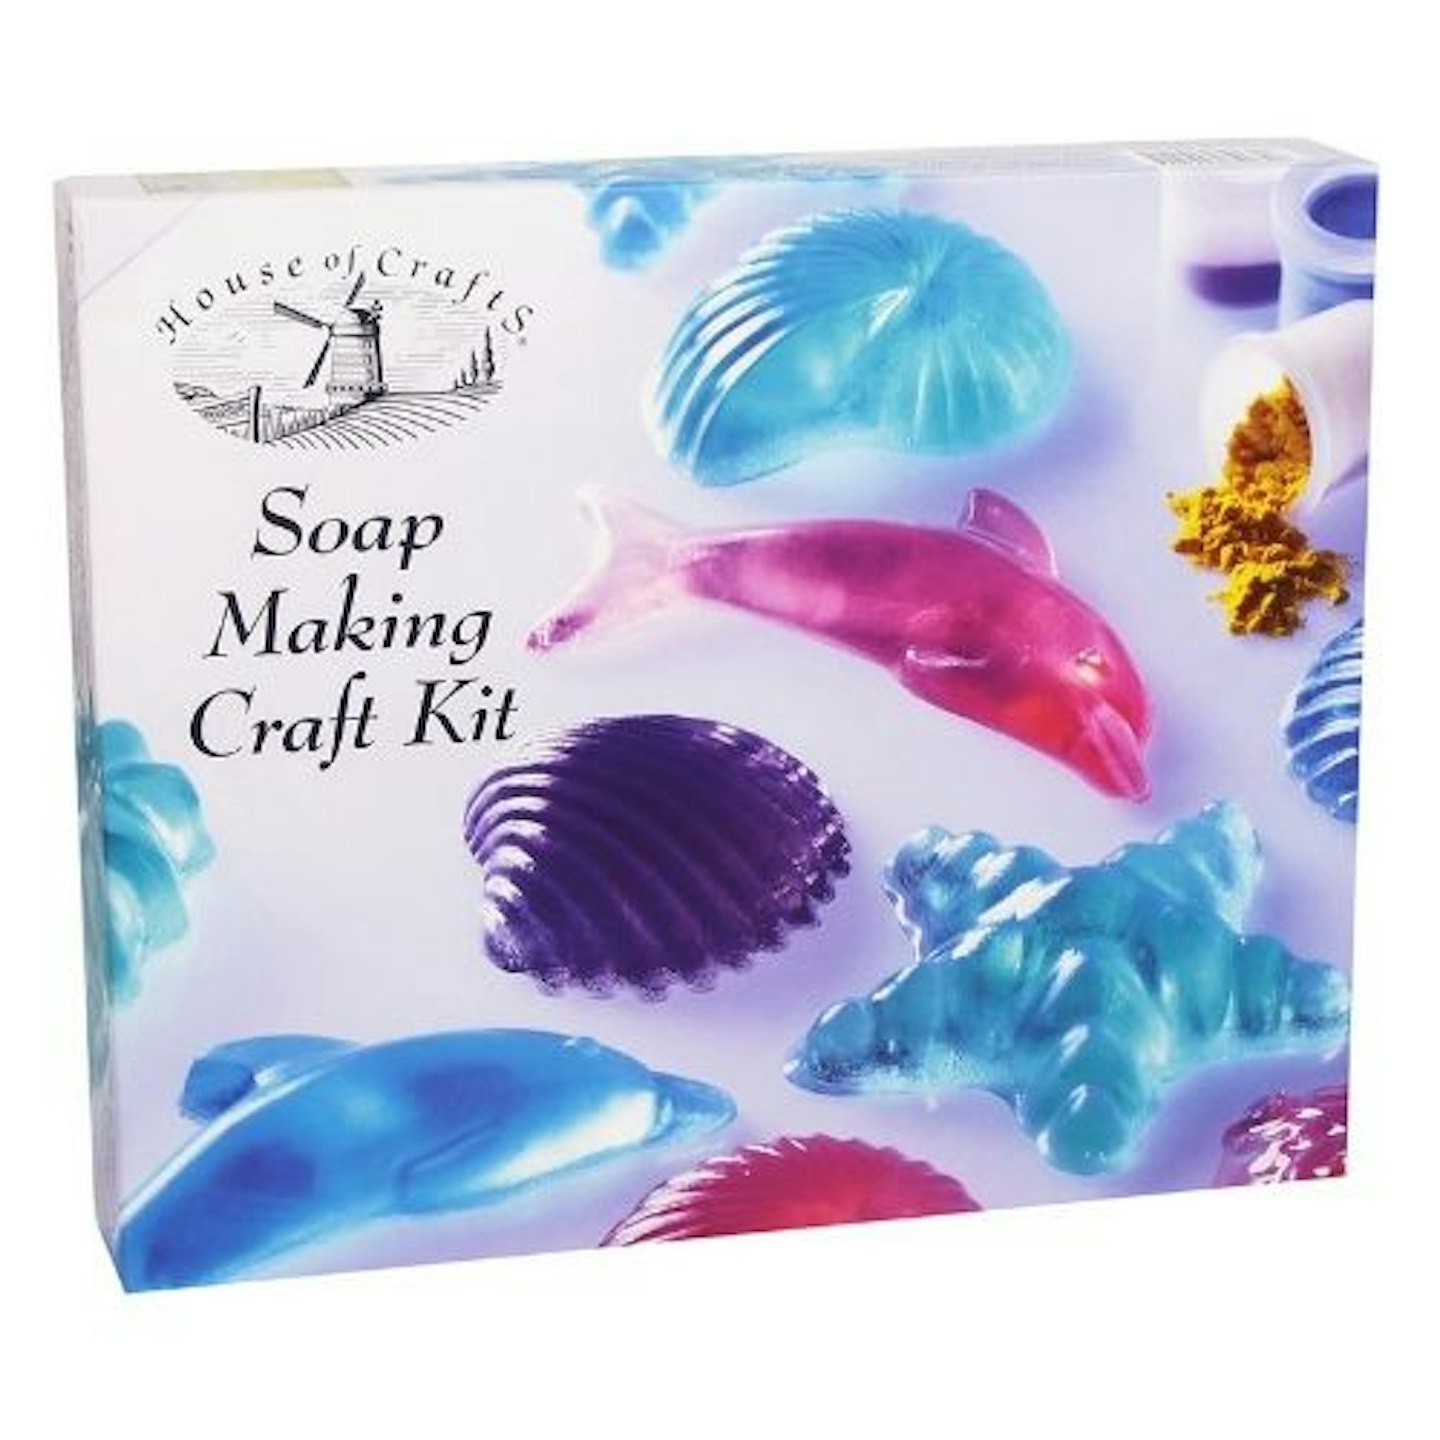
If you want to make soap but would rather have everything you need in one place, soap making kits are well worth a go. Here’s some of our favourites:
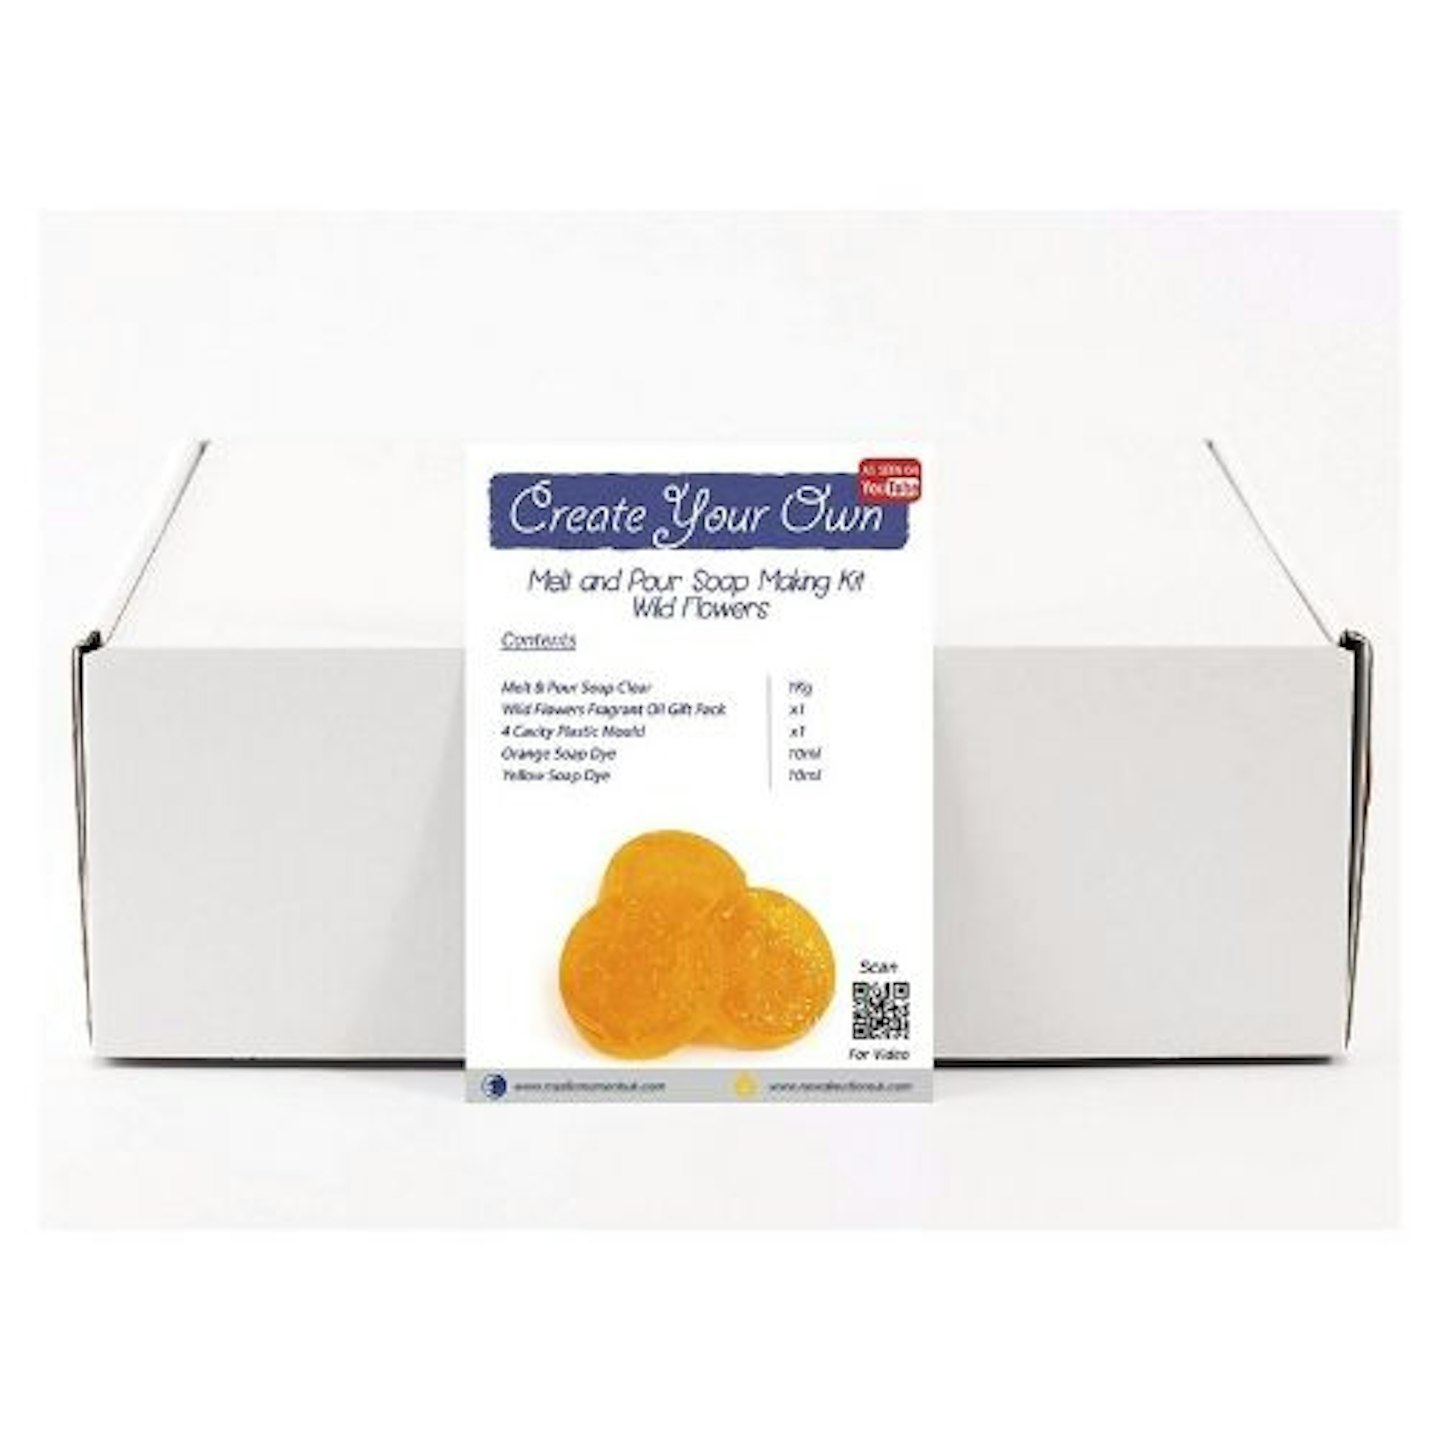
Description
Review: "Wow! I bought this set for my daughters at Christmas and they absolutely loved it. It's beautifully presented and has easy to follow instructions. The soap moulds that came with it are quite big so I bought extra moulds and colours online. The wax is really easy to melt in the microwave and it sets quite quickly. A fun afternoon with my daughters, many thanks!"
www.etsy.com
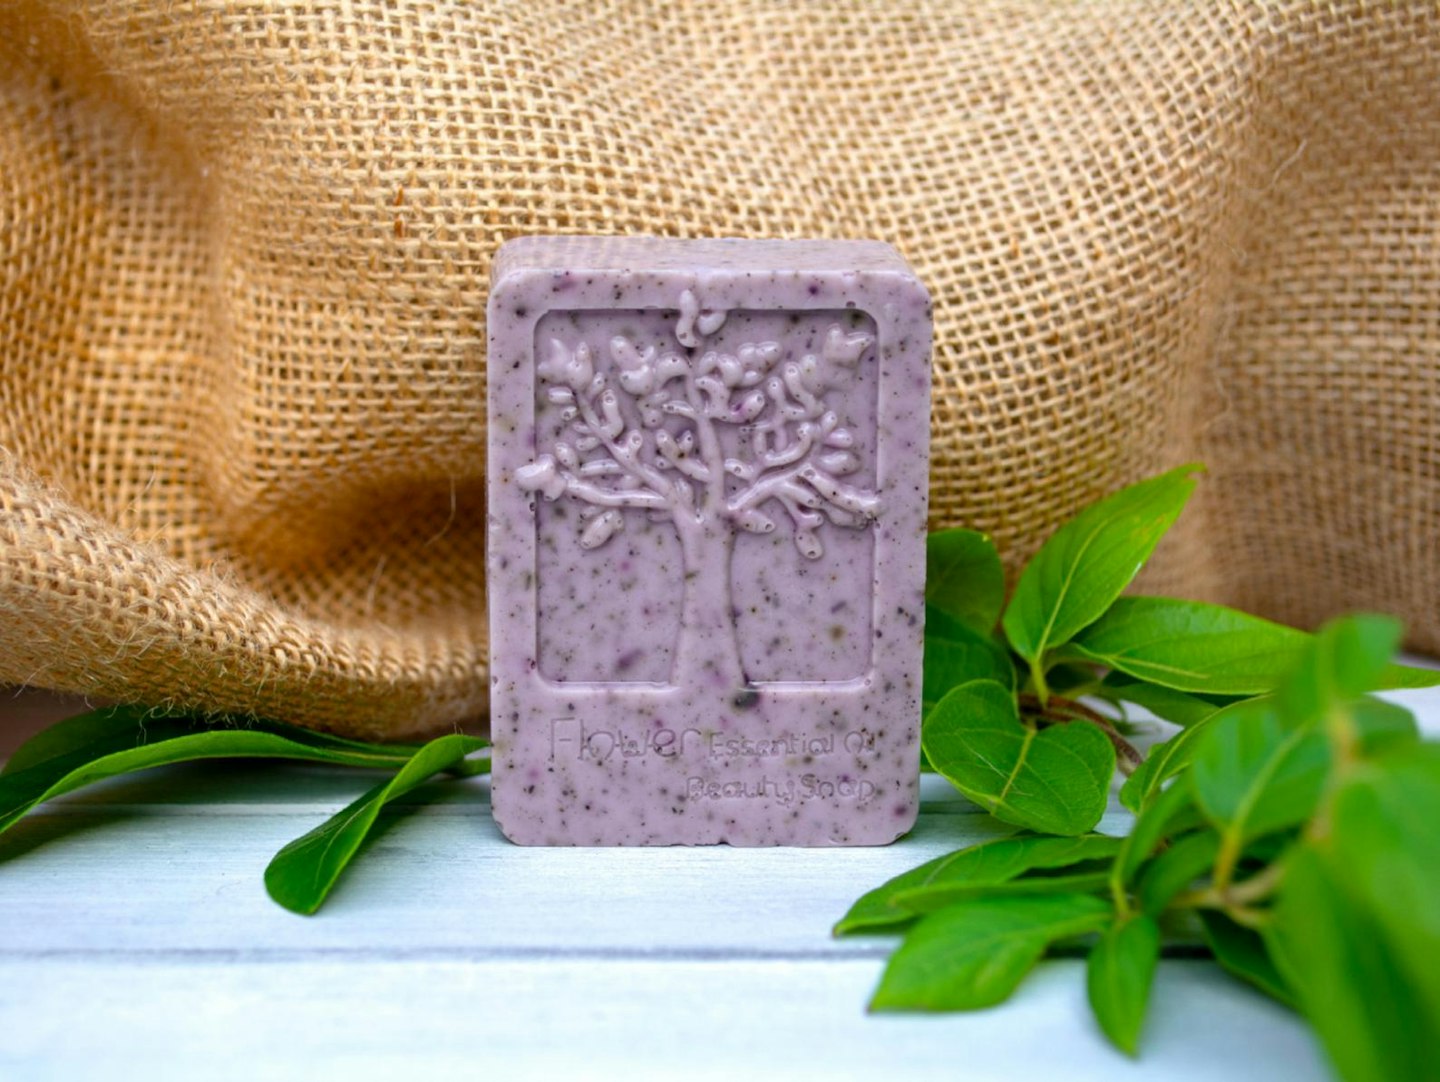
Description
Review: "I really enjoyed using this kit and everyone to whom I have gifted a bar is impressed with the quality of this product. I even reused all the papers etc from the original ingredients wrappings to wrap the soaps."
Description
Review: "Bought as present. This seems to be easy to use and I received a nice piece of soap in return."
Most popular articles to read next
Homemade cleaning products: 9 hacks for DIY cleaning recipes
11 all-natural cleaning products that'll leave your home sparkling and green