
Materials:
-
7 or 8 mm crochet hook – The size hook that you need, will vary according to the thickness of the Boodles that you are working with. Your stitches will need to be tight so that the dachshund is able to successfully hold the stuffing. PLEASE NOTE: if you use a hook larger than this size, then you may require more spools of Boodles than stated.
-
2 Spools of Boodles (Main Colour)
-
1 Spool of Boodles (Secondary Colour)
-
Approximately 200g Polyester toy stuffing
-
Suitable beads or buttons for the eyes
-
A needle and thread for attaching the eyes
-
A small amount of black Boodles or other yarn for embroidering the nose
-
A large tapestry needle or smaller crochet hook for weaving in the ends
Approximate size of finished project: 36cmx26cm
Abbreviations:
-
Chain Stitch = ch
-
Stitches = st
-
Slip Stitch = ss
-
Double crochet = dc
-
Half Treble crochet = htr
-
Treble crochet = tc
-
Increase = inc (make 2 dc into a single stitch)
-
Decrease = dc2tog (combine 2 dc into a single stitch)
-
Work into the back loop only = BLO
-
Finish off = FO
Notes
This pattern is designed to involve as little sewing as possible. It's a good idea to make the ears and legs first as they will be attached to your dachshund as you crochet the head and body.
Please note that the stitch counts do not count any chain stitches – it is important that you are working with the correct number of stitches in order to achieve the correct shape, so it is worth stopping to check this at the end of a round. Please note that the stitch counts (shown as [#] at the end of each row)
Ears – Make 2
Please note that this section is worked in rows.
Row 1. Working in your choice of main colour, ch6, starting in the 2nd ch from the hook dc in each ch to the end, ch2, turn. [5]
Row 2. Tc 2, htc, dc 2, ch 1, turn. [5]
Row 3. Dc 2, htc, tc 2, ch 1, turn. [5]
Rows 4 – 6. (3 rows) Dc 5, ch1, turn. [5]
Row 7. Skip 1st st, dc 4, ch1, turn. [4]
Row 8. Skip 1st st, dc 3, ch1, turn. [3]
Row 9. Skip 1st st, dc 2, FO. [2]
Weave in any remaining ends.
Set the ears aside for later assembly.
The completed ear should look like the image below. The foundation chain shown at the top (see photo), are the 5 stitches that will later be joined to the head.
Also please note the slightly curved shape (the bottom end is shown here curving to the left).
Legs – Make 4
Please note that this section is worked in joined rounds.
Round 1. Starting in beige, ch2, make 6 dc into the 2nd ch from the hook, join with a ss to the 1st st, ch1 (You may use the magic ring method if you prefer). [6]
Round 2. Starting in the same st that you just joined into, BLO dc 6, join, change to your main colour as you ch 1. [6]
Round 3. Starting in the same st that you just joined into, dc 6, join, FO. Tuck the remaining end inside the leg and set aside for later assembly. [6].
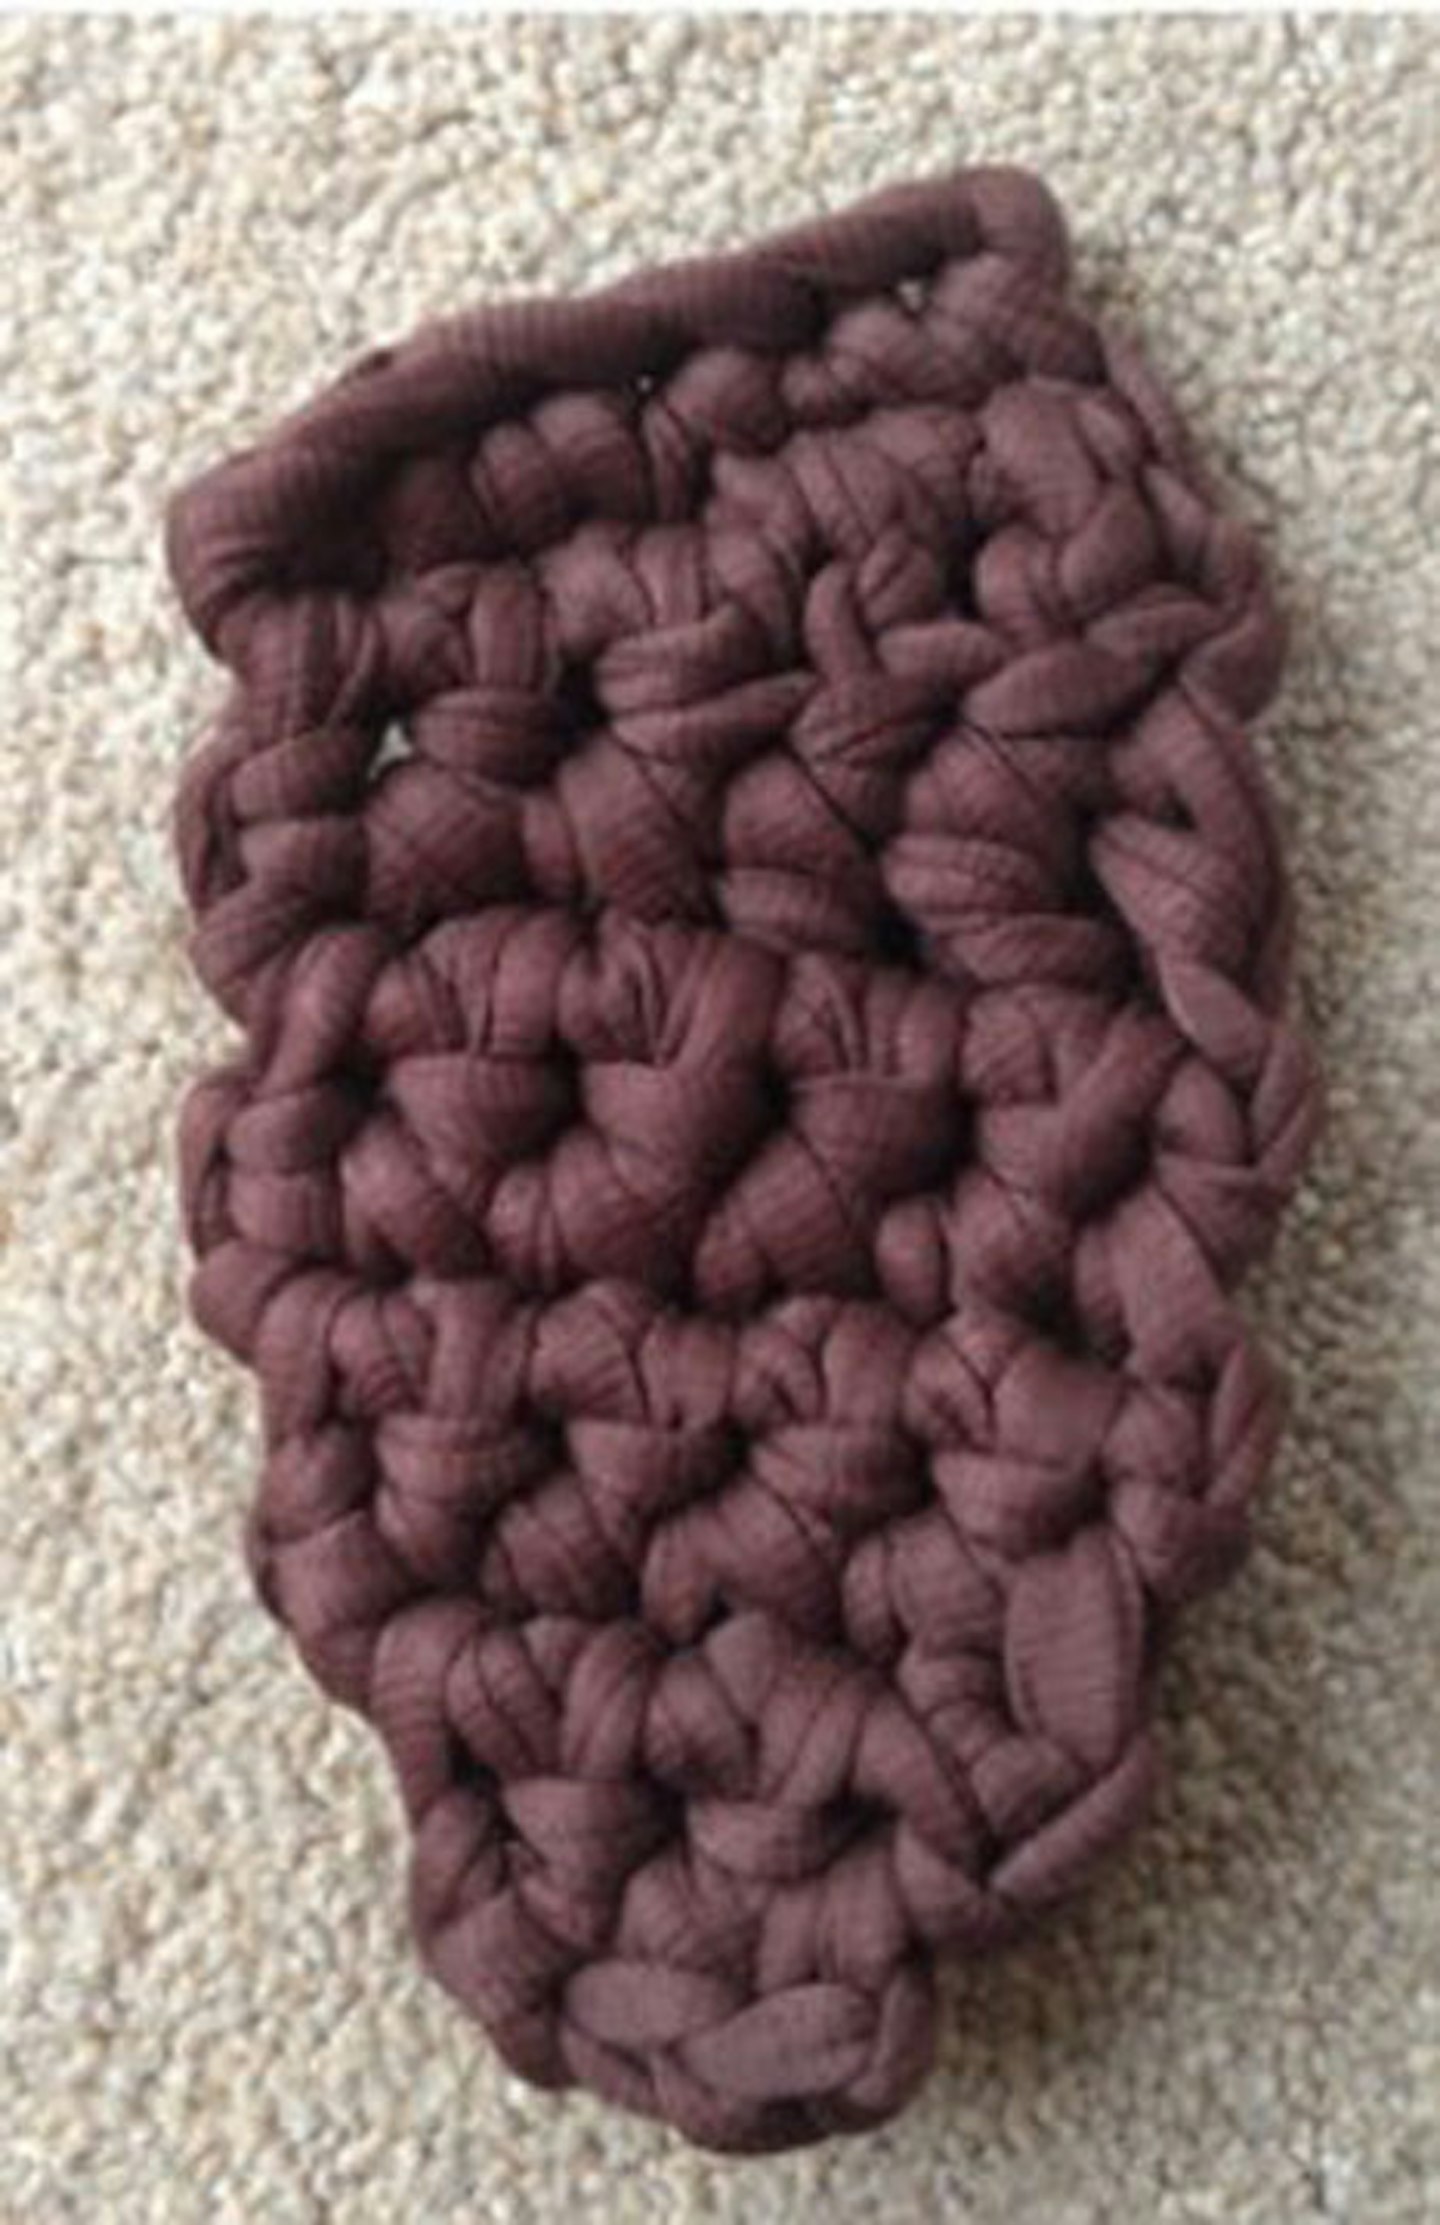
The completed legs should look like the below image.
Body
This section is worked in continuous rounds (do not join). You may find that it helps to use a marker to mark the first st in the round, moving it up as you go. This section starts with the back of the dog’s body, and finishes with the chest.
Round 1. Starting in your choice of main colour, ch2, make 6 dc into the 2nd ch from the hook. (You may use the magic ring method if you prefer) [6]
Round 2. Inc x 6. [12]
Round 3. Inc x 12. [24]
Round 4. (Dc 3, inc) x 6. [30]
Round 5. Dc 30. [30]
Round 6. In this round you will attach the back legs. Holding the first leg as shown (with the top edges of the leg squashed flat), working through all three layers dc 2, continue in the next free st around the body dc 2, holding the second leg in the same way, working through all three layers dc 2, Continue around the body dc 24. [30]
Round 7. Dc 30. [30]
Round 8. (Dc2tog, dc) x 3, dc 18, dc2tog, dc. [26]
Round 9 – 18. (10 rounds) Dc 26. [26]
Round 19. (Inc, dc) x 4, dc 18. [30]
Round 20 – 22. (3 rounds) Dc 30. [30]
Round 23. In this round you will attach the front legs. Dc 4, holding the next leg as shown (with the top edges of the leg squashed flat), working through all three layers dc 2, continue in the next free st around the body dc 2, holding the final leg in the same way, working through all three layers dc 2, continue around the body dc 20. [30]
Round 24. Dc 30. [30]
Round 25. (Dc2tog, dc 3) x 6. [24]
Round 26. (Dc2tog, dc 2) x 6, add the stuffing at this point. [18]
Round 27. (Dc2tog, dc) x 6. [12]
Round 28. Dc2tog x 6, FO leaving a tail of approximately 30cm / 12″. Weave this tail through the outer loop of the final 6 stitches and pull tight to close the hole. Weave in the remaining end. [6]
Tail
-
Join the Boodles with a ss where you would like to position the tail (at the opposite end of the body to where you just finished off!)
-
Chain 16.
-
Starting in the 2nd ch from the hook, dc 15, ss back into the body (ideally one st to the right of your starting point so that the stitches of the tail lies flat).
-
FO and weave in the end.
Head
This section is worked in continuous rounds (do not join). You may find that it helps to use a marker to mark the first st in the round, moving it up as you go. If you find it difficult to join the ears as you crochet the head, then simply omit this and sew them on afterwards!
Round 1. Starting in beige, ch2, make 6 dc into the 2nd ch from the hook (you may use the magic ring method if you prefer). [6]
Round 2. Inc x 6. [12]
Round 3. (Inc, dc) x 6. [18]
Round 4 – 6. (3 rounds) dc 18. [18]
Embroider the nose at this point – this is easier while the nose section is still hollow.
Holding your current stitch centred at the bottom, firstly embroider from the central point of the nose, up and over rounds 1 and 2.
Then embroider from the central point again, this time into the stitch to the left of your previous embroidery, and then also into the stitch to the right of it.
Finally, embroider two smaller lines at the sides as shown above.
Round 7. Dc 3 changing to your main colour in the last st, dc 10 changing to beige in the last st, dc 5. [18]
Round 8. Dc 2, inc changing to your main colour in the last st, (inc, dc) x5 changing to beige in the last st, inc, dc 4. [25]
Round 9. Dc 4 changing to your main colour in the last st, (inc, dc 2) x 5, dc 6. You can cut the beige Boodles at this point but ensure to leave a tail inside the head, as we will use this later to embroider the eyebrows. [30]
Round 10. Dc 4, (inc, dc 3) x 5, dc 6. [35]
Attach the eyes and embroider the eyebrows at this point – again this is easier while the head is still hollow. To attach the eyes, simply use a needle and thread to sew on beads or buttons of your choice (see photo for positioning). Then, using the tail of beige Boodles that you left earlier, embroider the eyebrows as shown, before knotting off the remaining tail inside the head.
Round 11. In this round you will start to attach the ears. One stitch on each ear will be joined in this round as well as in each of the following four rounds. Dc 12, Holding the ear as shown (please note the orientation of the ear with the bottom end curving to the right) make just one dc through both layers.
Continue around the head layer only dc 11, holding the second ear as shown (again noting the orientation with the bottom end this time curving to the left), make one dc through both layers, continue around the head layer only dc 10. [35]
Round 12. Dc 12, Holding the ear as shown, insert your hook through the next available foundation ch on the ear, followed by the next available st on the head and make one dc through both layers (you are essentially making the joining st from underneath the ear), continue around the head layer only dc 11.
Holding the second ear as shown (again insert your hook through the next available foundation ch on the ear, followed by the next available st on the head) make one dc through both layers, continue around the head layer only dc 10. [35]
Round 13. Dc 6, dc2tog, dc 2, dc2tog. As before, insert your hook through the next available foundation ch on the ear, followed by the next available st on the head, and make one dc through both layers (dc 3, dc2tog) x 2, dc. Insert your hook through the next available foundation ch on the ear, followed by the next available st on the head. Make one dc through both layers, dc, dc2tog, dc 7. [30]
Round 14. Dc 10. As before, insert your hook through the next available foundation ch on the ear, followed by the next available st on the head, make one dc through both layers. Dc 10. Insert your hook through the next available foundation ch on the ear, followed by the next available st on the head. Make one dc through both layers, dc 8. [30]
Round 15. Dc 6, dc2tog, dc 2. As before, insert your hook through the next available foundation ch on the ear, followed by the next available st on the head, and make one dc through both layers, (Dc2tog, dc 2) x 2, dc2tog. Insert your hook through the next available foundation ch on the ear, followed by the next available st on the head. Make one dc through both layers. Dc2tog, dc 6. [25]
Round 16. (Dc2tog, Dc2) x6, dc, stuff firmly. [9]
Round 17. (Dc2tog, Dc) x 6, dc. [13]
Round 18. (Dc2tog) x 6, dc. [7]
FO leaving a tail of approximately 100cm / 40″ Weave this tail through outer loops of the final 7 stitches and pull tight to close the hole. Leave the remaining tail sticking out at the base of your dachshund’s head ready for attaching it to the body.
Finally sew your dachshund’s head to the body in the desired position. Some tips for this would be:
Don’t position the head too far forward – you need plenty of surface area in which to connect the two sections together and don’t want it to be too ‘forward-heavy’.
If you thread the remaining Boodles tail onto a large needle to do this, you may find a pair of long nose pliers useful, for helping to pull the needle through.
If any stuffing starts to come out as you pull the Boodles through, then simply push it down again using the blunt end of your crochet hook.
Due to the unique nature of Boodles Yarn, project results may vary as the width/texture of the yarn can differ!
When making projects we recommend you purchase all your needed yarn at the same time, as colour matching from different spooling productions cannot be guaranteed.
Project from Boodles with Avec. Pattern Design by Laura Sutcliffe for the Hobbycraft blog.